CREATE TABLE transactions
(
Time VARCHAR,   V1 VARCHAR,     V2 VARCHAR,     V3 VARCHAR,
V4 VARCHAR,     V5 VARCHAR,     V6 VARCHAR,     V7 VARCHAR,
V8 VARCHAR,     V9 VARCHAR,     V10 VARCHAR,    V11 VARCHAR,
V12 VARCHAR,    V13 VARCHAR,    V14 VARCHAR,    V15 VARCHAR,
V16 VARCHAR,    V17 VARCHAR,    V18 VARCHAR,    V19 VARCHAR,
V20 VARCHAR,    V21 VARCHAR,    V22 VARCHAR,    V23 VARCHAR,
V24 VARCHAR,    V25 VARCHAR,    V26 VARCHAR,    V27 VARCHAR,
V28 VARCHAR,    Amount VARCHAR, Class VARCHAR
);
Batch filtering using distributed business rules
Introduction
The Bad Apples project demonstrates a workflow for creating services that combine the distributed processing features of Apache Spark with the business rules capabilities of Drools. This tutorial will walk you through the process of deploying an application that utilizes data analysis and distributed rules processing to select a set of possibly fraudulent credit card transactions.
The data used in this tutorial is the Credit Card Fraud Detection set from Kaggle. This set has been chosen to help illustrate an example of a real-world problem which requires machine processing and human domain expertise. Although the data contains columns which represent unknown principal components for the transactions, we have taken these as inspiration to demonstrate the types of algorithms and rules you will create with your data.
The techniques and algorithms demonstrated in this tutorial are not recommended for production work where real financial records are involved. They are exposed here to illustrate how the underlying infrastructure and frameworks can be used to build these types of systems.
Architecture
There are three primary services which comprise the Bad Apples suite: a database, a Spark cluster, and the filter Job. To aid this tutorial there are two additional services you will use: one to load the database, and one to observe the results of the filter processing.
The filter job is an application that will extract credit card transaction data from the database, filter out transactions above a predefined amount, and then process the filtered transactions through the business rules to identify suspected fraudulent transactions. The business rules are crafted to select transactions based on one of the principal component values.
In practice, the flow of data looks like this:

Of the two non-primary services, the watcher is shown in this diagram to illustrate its place in the architecture. The watcher is a simple service that periodically reads from the database to display the number of detected fraudlent transactions. Using this service you can easily monitor how a change to the filter job affects the number of detected transactions.
Record selection process
The filter job service will examine all the records in the database and use a few simple algorithms to select the fraudulent transaction records. To better understand this process, let’s begin by looking at the schema for the credit card transaction data.
Each record in this set consists of a large amount of data that is mostly
hidden in the
principal components
V1 through V28. Due to confidentiality constraints, none of the original
background information is available about those fields. The fields which have
not been transformed with
PCA are Time and
Amount. Time is the number of seconds that have elapsed between the current
transaction and the first transaction in the set. Amount is the value of each
transaction in a single currency, please note that the currency for this
column is not listed by the authors but it is taken to be a single currency
(most likely Euros). Class is a variable that has been added by the data
maintainers to reflect fraud in the transaction. This set was originally
conceived to aid in creating machine learning models and as we are using it
with a different purpose we will be ignoring the Class column and also using
the principal components in a slightly different manner.
To select the fraudulent transactions in this tutorial we will use a Spark in two
different manners: to select records for inspection, and to distribute business
rules for processing.
Initially, Spark will connect to the PostgreSQL database and select all records
with an Amount greater than set value. This is to represent how a database
query might be run on all transactions above a predefined limit for routine
fraud inspection. One of the primary reason to use Spark for this selection
instead of a simple database query is that Spark will transform the results
from the query into a convenient form for parallel processing.
With the initial set of records selected, Spark will distribute the data to
be processed in parallel by the business rules. As each record is distributed
to the processing cluster, the rules will be applied by Drools. For this
tutorial the rule we are using simply looks at the principal component V1
and marks a transaction as fraudulent if the value is below a predefined
threshold. This selection is an oversimplification of what a real fraud
detection application might perform, but is sufficient to demonstrate where to
apply your rules.
With the records selected, a separate database table is updated to reflect how many fraudulent transactions have been detected.
Installation
There are a few services and templates that must be installed before you can run the filter job. You will need to deploy a database, load the database with the initial data, deploy the watcher service, and create the template for the filter job.
Prerequisites
-
A terminal with the OpenShift client
ocavailable with an active login session. -
An OpenShift project with the radanalytics.io manifest installed, see the Get Started instructions for more help.
Procedure
-
Deploy a PostgreSQL database to store the transaction data. The following command will deploy an ephemeral PostgreSQL database into your project. The parameters
POSTGRESQL_USER,POSTGRESQL_PASSWORD, andPOSTGRESQL_DATABASEallow you to customize the installation. For this tutorial you should use the default values listed in the sample.oc new-app --name postgresql \ -e POSTGRESQL_USER=username \ -e POSTGRESQL_PASSWORD=password \ -e POSTGRESQL_DATABASE=finance \ centos/postgresql-95-centos7
-
Create the template for the transaction loader job. This template will setup the necessary OpenShift objects to run a Job that will load the PostgreSQL instance with the initial transaction data.
oc create -f https://raw.githubusercontent.com/radanalyticsio/bad-apples/master/loader/data-loader.yaml
-
Load transaction data. Now that the template has been loaded, you can run the loader job with the following command:
oc new-app --template=data-loader --name=loader
To confirm that the loader job has run to completion, you can type
oc get job -l app=loaderto see the status of the run. -
Deploy the database watcher service. The following command will build the PostgreSQL watcher service using a source-to-image workflow.
oc new-app centos/python-36-centos7~https://github.com/radanalyticsio/bad-apples \
  --context-dir=watcher \
  -e DBHOST=postgresql \
  -e DBNAME=finance \
  -e DBUSERNAME=username \
  -e DBPASSWORD=password \
  --name=watcher
-
Expose a route to the watcher. This will command OpenShift to create an externally addressable URL for the watcher service.
oc expose svc/watcher
-
Load the template for the filter job and build the initial version. Before you can run the filter service, you will need to load the OpenShift manifest that contains its template. Loading this manifest will also cause OpenShift to begin building the service.
oc create -f https://raw.githubusercontent.com/radanalyticsio/bad-apples/master/filter/filter.yaml
To inspect the build for the watcher you can type
oc logs -f bc/watcher, alternatively if you would like to check on the build status you can typeoc get build filter-1.
Usage
To utilize the Bad Apples project means to run the filter job and observe the results. As stated in the Architecture section, the filter job will read the transaction records from the database and then process them to determine which are fraudulent. It does this every time it is run. To aid in observing how many records the filter job has selected you will use the watcher service to inspect the database updates.
-
Vist the watcher with a browser to determine initial state. Open a web browser and navigate to the route exposed by OpenShift for the watcher. The URL address for the watcher can be found with the following command:
oc get route watcher
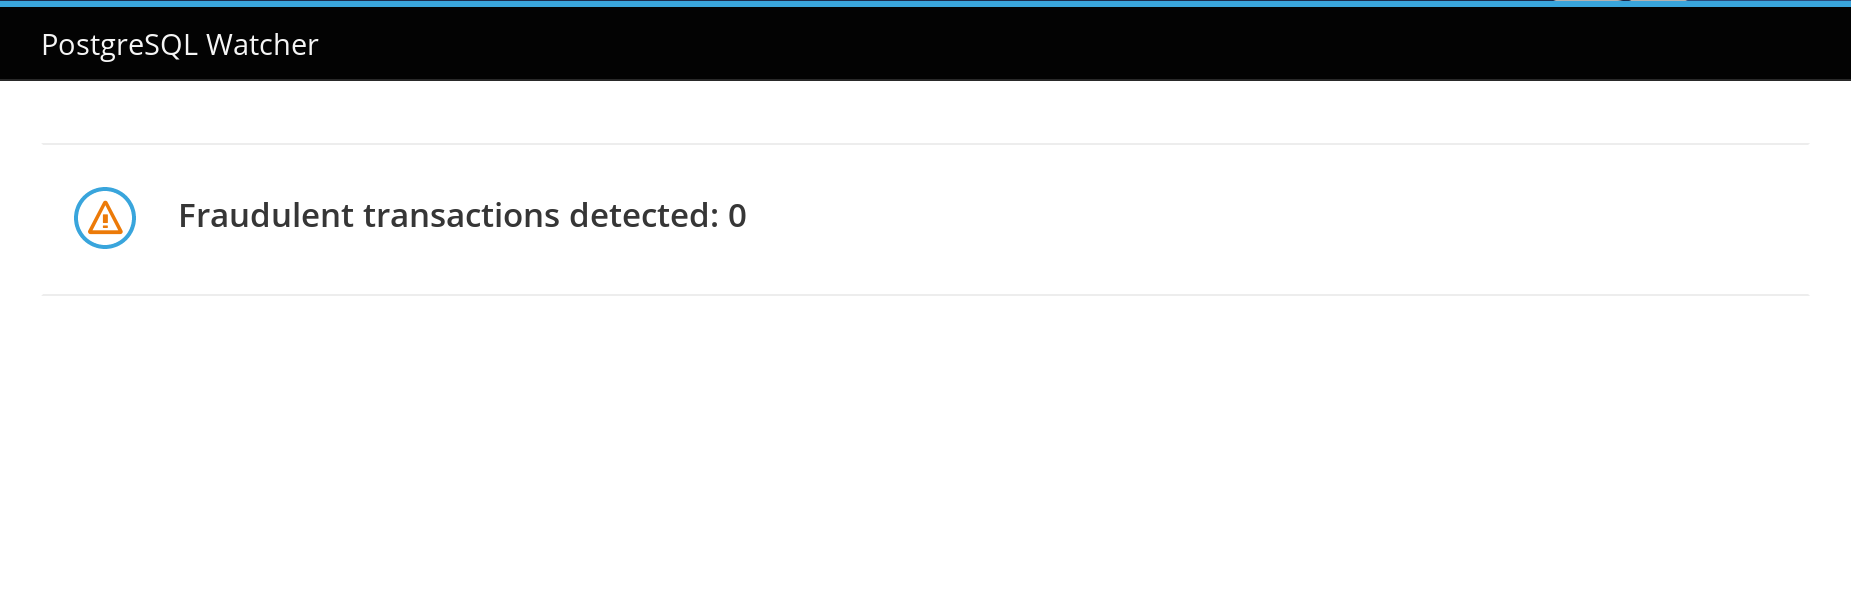
Given that the filter job has not run yet, you should see zero transactions detected as fraudulent. The page should look similar to this:
-
Run the filter job to process the transactions. You will now use the template created during the installation with the following command:
oc new-app --template=filter \
  -p IMAGE=$(oc get is filter --template={{.status.dockerImageRepository}}) \
  -p OSHINKO_CLUSTER_NAME=sparky
The two parameters that are passed to this command (
IMAGEandOSHINKO_CLUSTER_NAME) deserve a closer inspection. TheIMAGEparameter instructs OpenShift where to find the built image for our filter job. As we used OpenShift to build the image, we are using theoc get is filtercommand to help find the reference for that image. This is done to accomodate for differing versions of OpenShift, specifically because while OpenShift supports using ImageStreams with Kubernetes objects this support may not be in the version you have deployed. TheOSHINKO_CLUSTER_NAMEparameter gives us the opportunity to name the Spark cluster that will be automatically spawned for our job and thus we can reuse this cluster name with subsequent runs of the job.As the job is running you may wish to monitor its progress. To do this you can follow the logs that are produced by the job. You will need to use the job name that is generated by OpenShift and given in the output from the previous command. Once you have the job name, you will type
oc logs -f jobs/<job name>where<job name>is replaced by the actual name. -
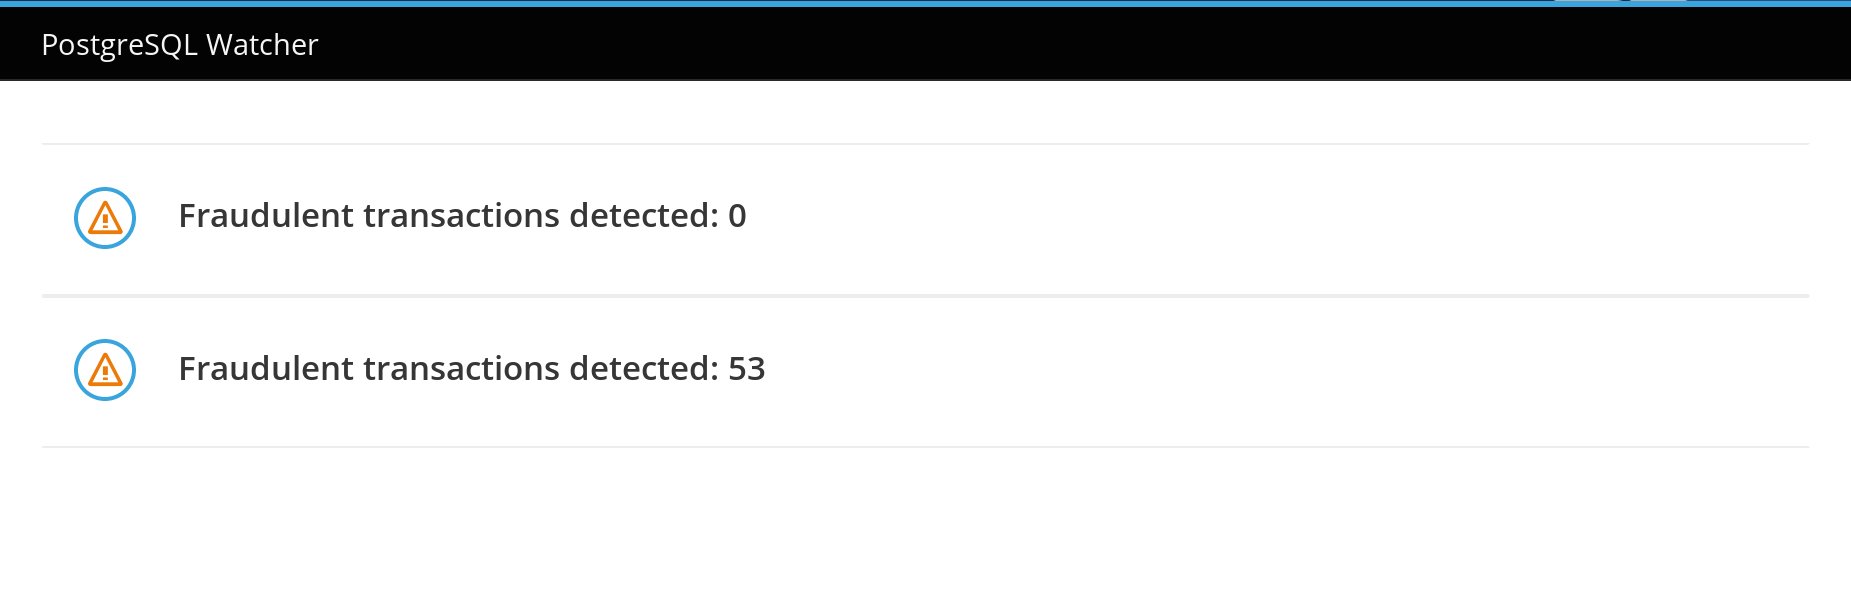
Visit the watcher with a browser to see the changes. After the filter job has run, the database will be updated with the number of fraudulent transactions detected. You will see this change reflected in the watcher, it will look similar to this:
Expansion
This tutorial is just the beginning step on a path to exploring how Apache Spark and Drools can be used to together. Hopefully the simplicity of this tutorial has inspired you to investigate further. Here are a couple suggestions for next steps with this code base.
-
Modify the rules inside the filter job to see how it affects the results. The rules file for the filter job can be found in the
filterdirectory inside the Bad Apples repository. -
Extract individual transactions for display inside the watcher. Currently the watcher only displays a count of the detected fraudulent transactions. An upgrade to this workflow would be to fully expose each one of the detected transactions. You can find all the code to make these modifications inside the
filterandwatcherdirectories of the Bad Apples repository.