oc new-app \
   -e POSTGRESQL_USER=postgres \
   -e POSTGRESQL_PASSWORD=postgres \
   -e POSTGRESQL_DATABASE=postgres \
   --name postgresql \
   centos/postgresql-94-centos7
Recommendation engine service with Apache Spark
Introduction
Project Jiminy is a service based application that implements a simple recommendation system using collaborative filtering based on an alternating least squares methodology. That may sound complicated but through the source repositories and these instructions you will find that creating a recommendation engine is more straightforward than expected.
With these instructions you will learn how to deploy Jiminy with the MovieLens dataset by the GroupLens Research organization. This dataset represents a set of movies, users and their ratings of the movies. Although Jiminy uses this dataset as the starting point, you will see how easily the services can be modified to utilize your own datasets.
Architecture
The application as a whole is comprised of several components which provide a user with access to a ratings and recommendation experience delivered through an HTML server and a REST interface.
There are three primary services in project Jiminy: the html-server, the modeler, and the predictor. The html-server is responsible for displaying the HTML content to the user and providing the primary means of interaction with the recommender. The modeler is a continuously running application that generates machine learning models based on ratings information. The predictor is a REST service that provides on-demand recommendations based on the generated models and input from a user.
In addition to the primary services there are a few supporting services that provide storage: the data store, the model store, and a cache store. The data store contains all the user, product (movies in this tutorial), and ratings information that will inform the modeler service. The model store holds the generated machine learning models that are created by the modeler service. The cache store is an optional storage service that provides a quick lookup for repeated prediction requests.
The following diagram shows the overall architecture of project Jiminy.

Please note that the units labelled "Analytics" are representative of the Apache Spark clusters that will perform the distributed processing.
Installation
Project Jiminy contains several microservices that must be deployed for it to function properly. In this section we will walk through the installation process in the recommended deployment ordering. Please note that these steps should be completed in order to ensure that all the components are running.
Prerequisites
Before beginning this installation you will need to create a new project and ensure that the Oshinko resource manifest is installed in your project. For instructions on creating the manifest, please see the Get Started page. Please note, you will not need the Oshinko Web UI for this project, but may wish to install it to monitor the Apache Spark clusters that are created.
Create storage services
To begin, you will need to create the necessary storage services for the Jiminy suite.
Launch PostgreSQL Data Store
This database will host the information about products and ratings. To start it from the command line, run the following command:
This command will create the database using the parameters specified in the environment variables.
Load PostgreSQL Data Store
In the default deployment for project Jiminy the dataset is assumed to be the GroupLens Research MovieLens set, this dataset contains a sample of movies and ratings. To load this data a custom tool has been created to simplify the process. To run the loader, begin with the following command:
oc create -f https://raw.githubusercontent.com/radanalyticsio/jiminy-tools/master/openshift-templates/data-store-loader.yaml
This will create the necessary Job object in OpenShift. To start the loader process run this command:
oc new-app \
   -p JOB_NAME=jiminy-data-loader \
   -p DB_HOST=postgresql \
   -p DB_USER=postgres \
   -p DB_PASSWORD=postgres \
   -p DB_DBNAME=postgres \
   -p DATASET_URL=http://files.grouplens.org/datasets/movielens/ml-latest-small.zip \
   jiminy-data-loader
A Job has now been started that will load your data store with the MovieLens
data. It will download the data files from the URL given in the DATASET_URL
parameter. This command is loading the small data which only contains
100,000 ratings on 9,000 movies from 700 users. This set is a nice baseline
to start with as it will only take a minute or two to load. If you would like to
test a larger data set, simply change the DATASET_URL parameter to
http://files.grouplens.org/datasets/movielens/ml-latest.zip. Please
note that the larger data set will take several minutes to complete.
You might want to check the progress of the data loader to ensure that it has completed. To do this, run the following command to inspect the logs:
oc logs -f job/jiminy-data-loader
If it has succeeded you should see an output like this:
INFO:root:starting data loader
INFO:root:connecting to database
INFO:root:creating products table
INFO:root:creating ratings table
INFO:root:downloading and unzipping dataset
INFO:root:found movies.csv file in dataset
INFO:root:found ratings.csv file in dataset
INFO:root:loading products table
INFO:root:loaded products table
INFO:root:loading ratings table
INFO:root:loaded ratings table
Launch MongoDB Model Store
This database will host the trained models that the predictor service will utilize to make its recommendations. To start it from the command line, run the following command:
oc new-app \
   -e MONGODB_USER=mongo \
   -e MONGODB_PASSWORD=mongo \
   -e MONGODB_DATABASE=models \
   -e MONGODB_ADMIN_PASSWORD=mongoadmin \
   --name mongodb \
   centos/mongodb-26-centos7
This command will create the database using the parameters specified in the
environment variables. The MONGODB_DATABASE variable must be set to models
for this version of the Jiminy suite to ensure that the modeler and predictor
have access to the proper storage.
Create application services
With the storage services running, you can now deploy the application services which will perform the analytics and serve the user interface. Now is a good time to ensure that you have performed the prerequisite oshinko install.
Launch the modeler
The modeler will connect to both the PostgreSQL and MongoDB stores. To build and launch the modeler using the source-to-image workflow run the following command:
oc new-app --template oshinko-python-spark-build-dc \
   -p GIT_URI=https://github.com/radanalyticsio/jiminy-modeler \
   -e MONGO_URI=mongodb://mongo:mongo@mongodb/models \
   -e DB_HOST=postgresql \
   -e DB_USER=postgres \
   -e DB_PASSWORD=postgres \
   -e DB_DBNAME=postgres \
   -p APP_FILE=app.py \
   -p APPLICATION_NAME=modeler
This will start the modeler and launch an Apache Spark cluster for it to run
its workloads, it may take a minute or two for this process to complete. You
can watch the build process by running oc logs -f bc/modeler. Once the build
has completed the modeler will deploy a Spark cluster and then begin creating
the first model. You can watch the modeler process by running
oc logs -f dc/modeler, this will allow you to determine when it has created
a model by watching for a stoppage in the logging activity. Once it has
created a model, it is safe to start the predictor.
Launch the predictor
The predictor will connect to the MongoDB store and provide a REST interface for the HTML Server. To build and launch the predictor using the source-to-image workflow run the following command:
oc new-app --template oshinko-python-spark-build-dc \
   -p GIT_URI=https://github.com/radanalyticsio/jiminy-predictor \
   -e MODEL_STORE_URI=mongodb://mongo:mongo@mongodb/models \
   -p APP_FILE=app.py \
   -p APPLICATION_NAME=predictor
This will start the predictor and launch an Apache Spark cluster to run its
workloads, it may take a minute or two for this process to complete. You can
watch the build process by typing oc logs -f bc/predictor. Once the build
is complete, you can ensure that the predictor is ready for use by watching
its logs with the command oc logs -f dc/predictor. You will see this line
* Running on http://0.0.0.0:8080/ (Press CTRL+C to quit) when it is ready.
Launch the HTML server
The HTML server is a Spring Boot application which serves web pages to a user. It is a simple one page application providing an interface to get recommendations from the predictor. You can launch this application with the following command:
oc new-app fabric8/s2i-java~https://github.com/radanalyticsio/jiminy-html-server.git \
   -e SPRING_DATASOURCE_URL=jdbc:postgresql://postgresql:5432/postgres \
   -e SPRING_DATASOURCE_USERNAME=postgres \
   -e SPRING_DATASOURCE_PASSWORD=postgres \
   -e OPENSHIFT_CONFIG_PREDICTOR_URL=http://predictor:8080/predictions/ranks \
   --name html-server
This will command OpenShift to start building and then deploy the application.
You can watch the build process by typing oc logs -f bc/html-server. Once the
build is complete you can ensure that the server is running properly by
inspecting its logs with this command oc logs -f dc/html-server.
With the HTML server running you will now need to expose the server by giving it a proper route. OpenShift will do this for you, simply run the following command:
oc expose svc/html-server
Usage
Now that the entire application pipeline is running, you will want to visit the web page provided by the HTML server. To find its address, run the following command and inspect the output:
oc get route html-server
The output will look similar to this:
NAME          HOST/PORT                          PATH      SERVICES      PORT       TERMINATION   WILDCARD
html-server   html-server-pj.shift.opb.studios             html-server   8778-tcp                 None
The value in the HOST/PORT column is what you will need. In this example you
would point your browser at html-server-pj.shift.opb.studios.
Once you have opened your browser to the address specified by your deployment, you should see a page like this:
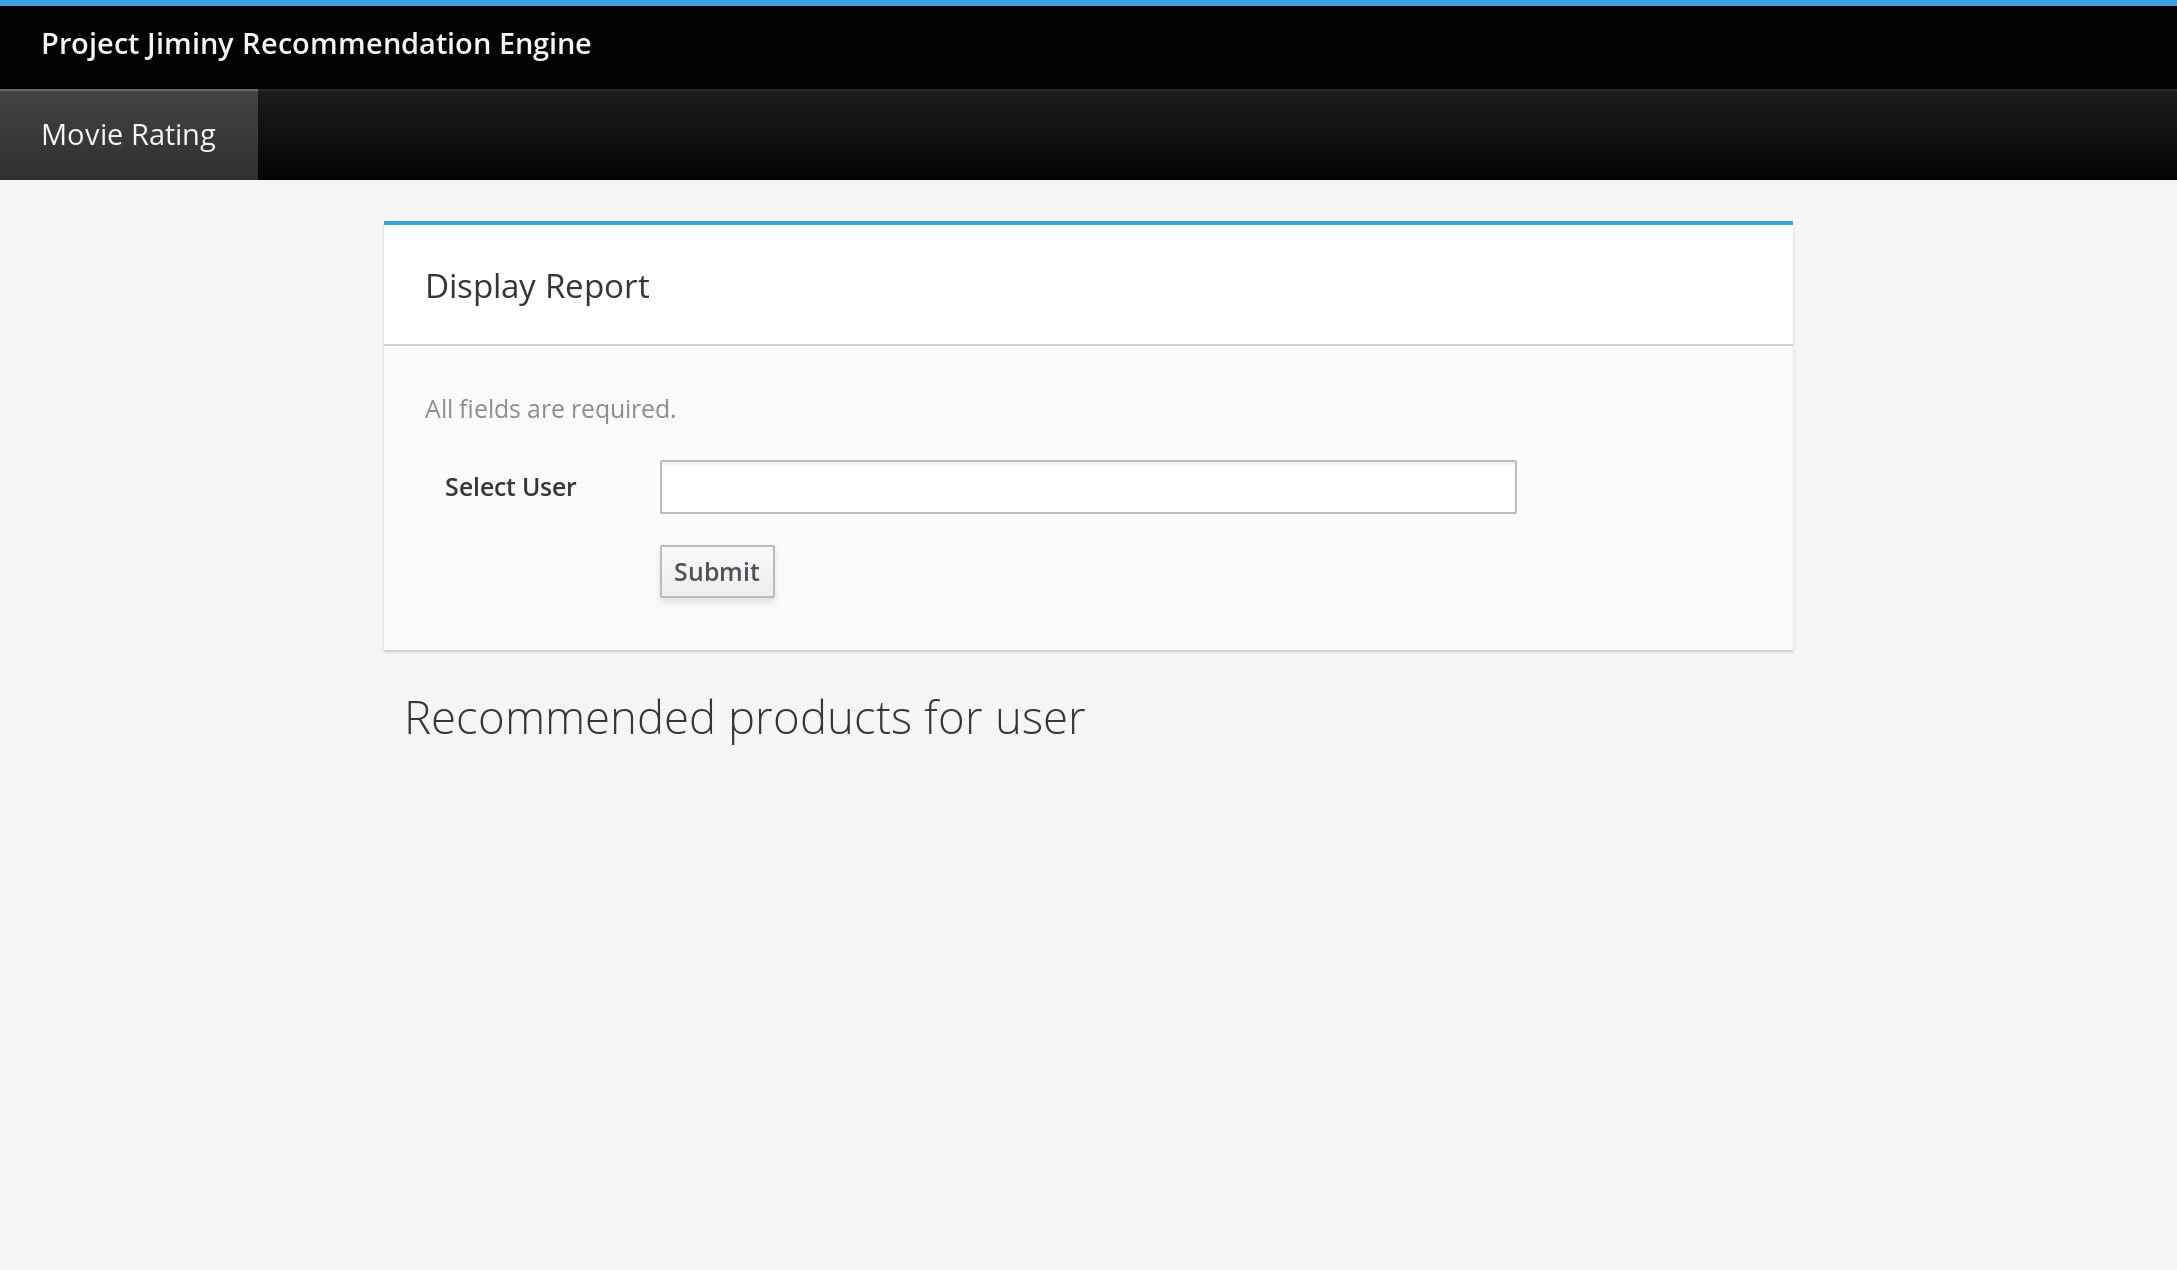
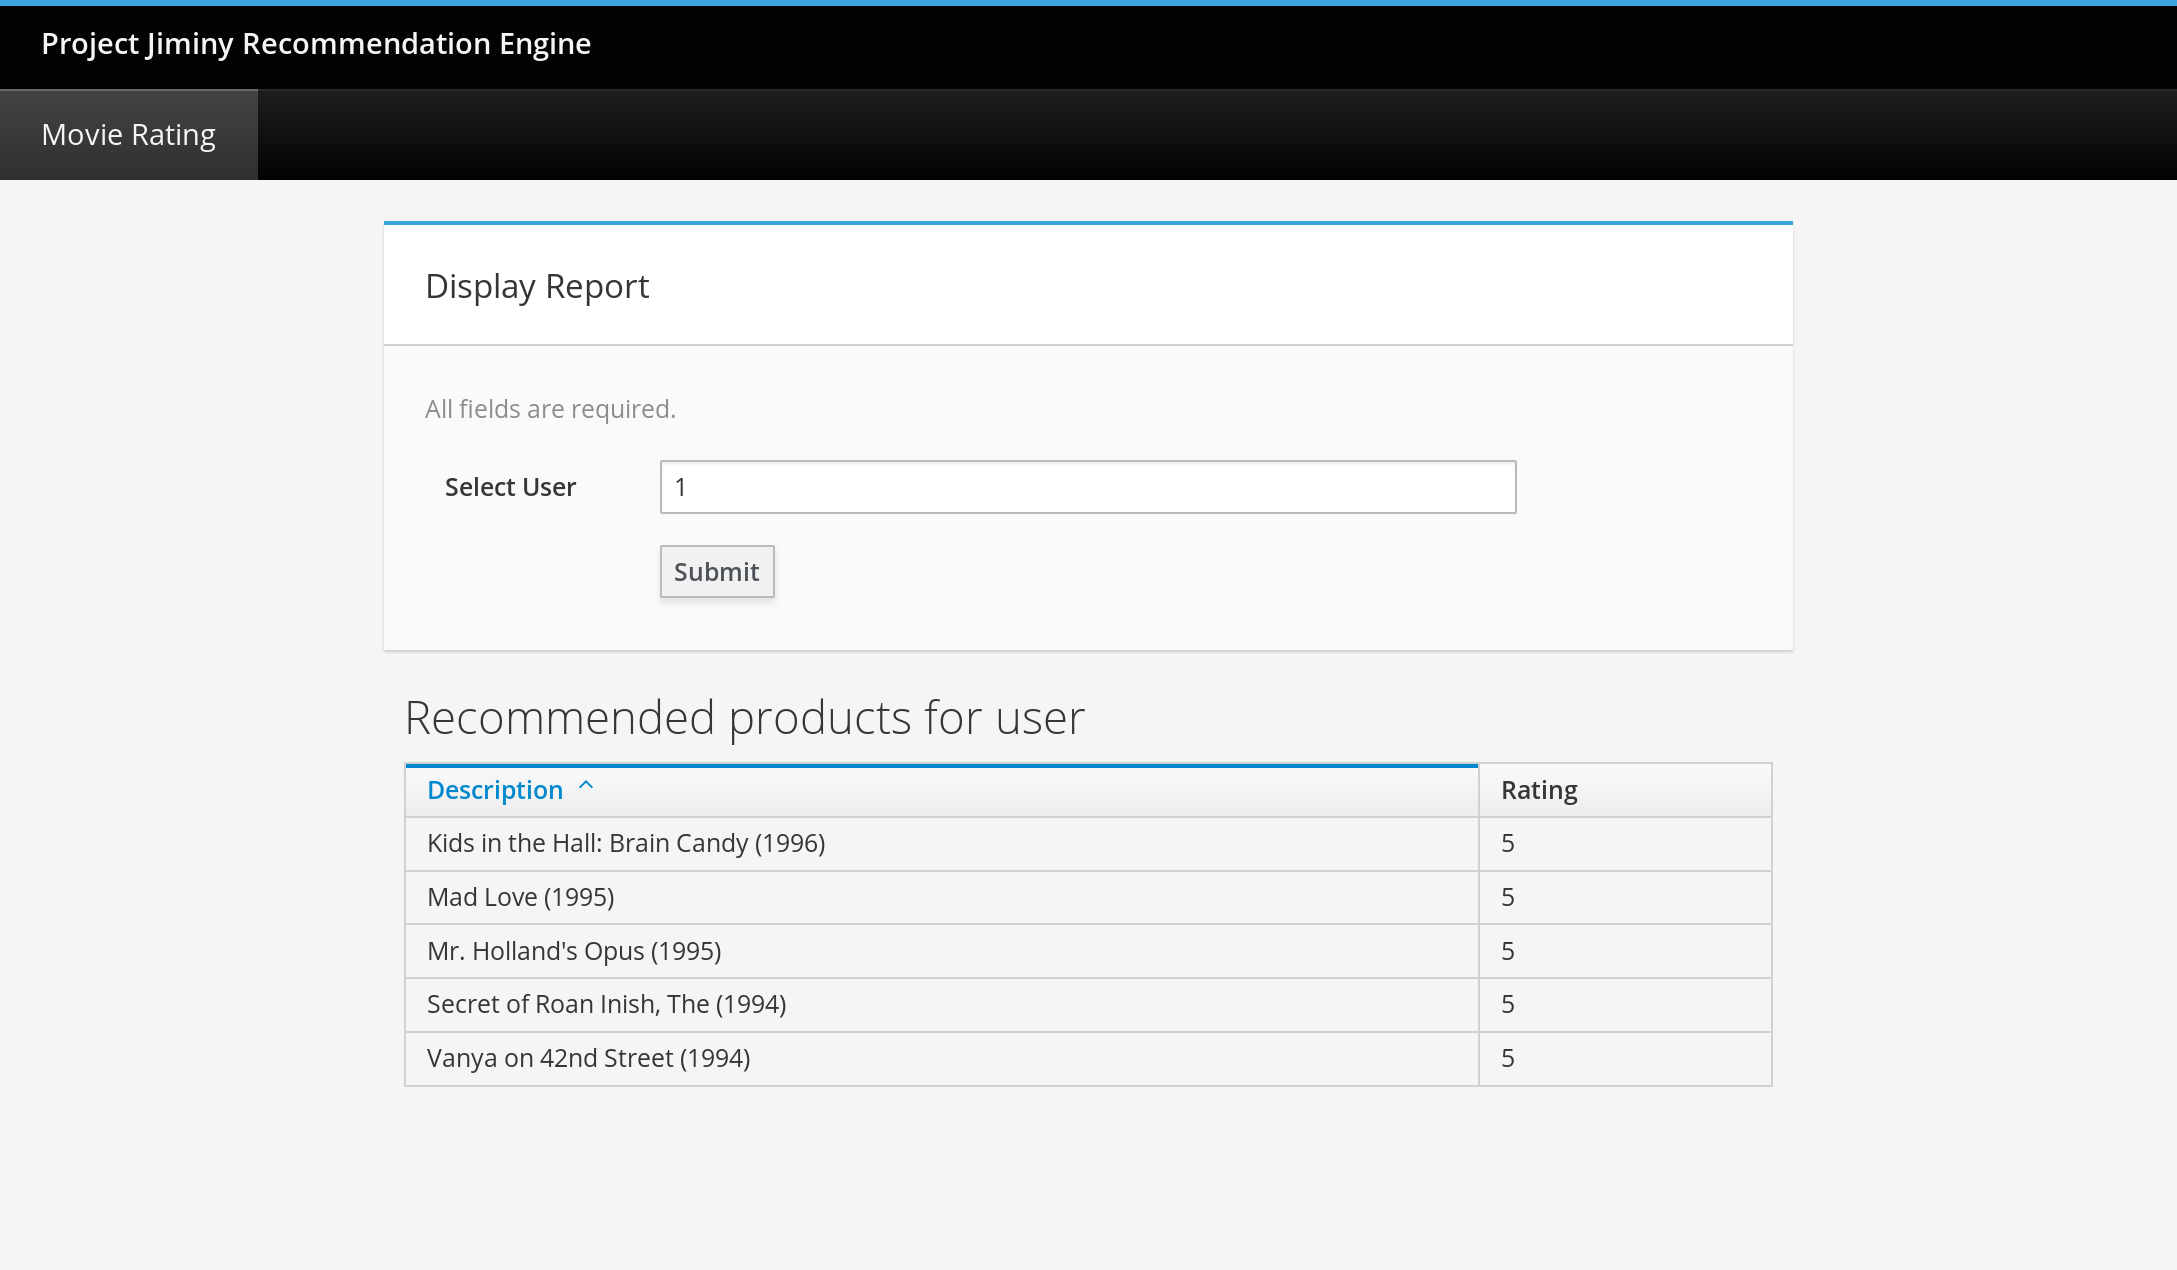
To see the predicted recommendations for a user, enter the user’s ID value into the input labelled "Select User". This value should be a positive integer. Don’t worry if you enter a number that is outside the range of the dataset, the predictor simply will return no recommendations. After selecting a user and clicking the "submit" button, you will see a list of movies and their predicted ratings for the user. The page should look something like this:
Expansion
Although project Jiminy uses the MovieLens data as its default set, the schema is simple enough that this application pipeline can be adapted to other types of data.
One interesting expansion on this project would be to adapt it to your own data. The PostgreSQL database service is the only store that will need to be pre-populated with data in order for the rest of the pipeline to function. As an aid to this process, the Jiminy data loader project has been created to automatically load the MovieLens data into the store. Inspect its source code for a more thorough understanding of the tables and schemas that are required for Jiminy to function properly.