curl -L https://github.com/ceph/cn/releases/download/v1.6.1/cn-v1.6.1-b900468-linux-amd64 -o cn \
&& chmod +x cn
Accessing data in Ceph with Apache Spark
Introduction
Processing data stored in an external object store is a practical and popular way for an intelligent application to operate.
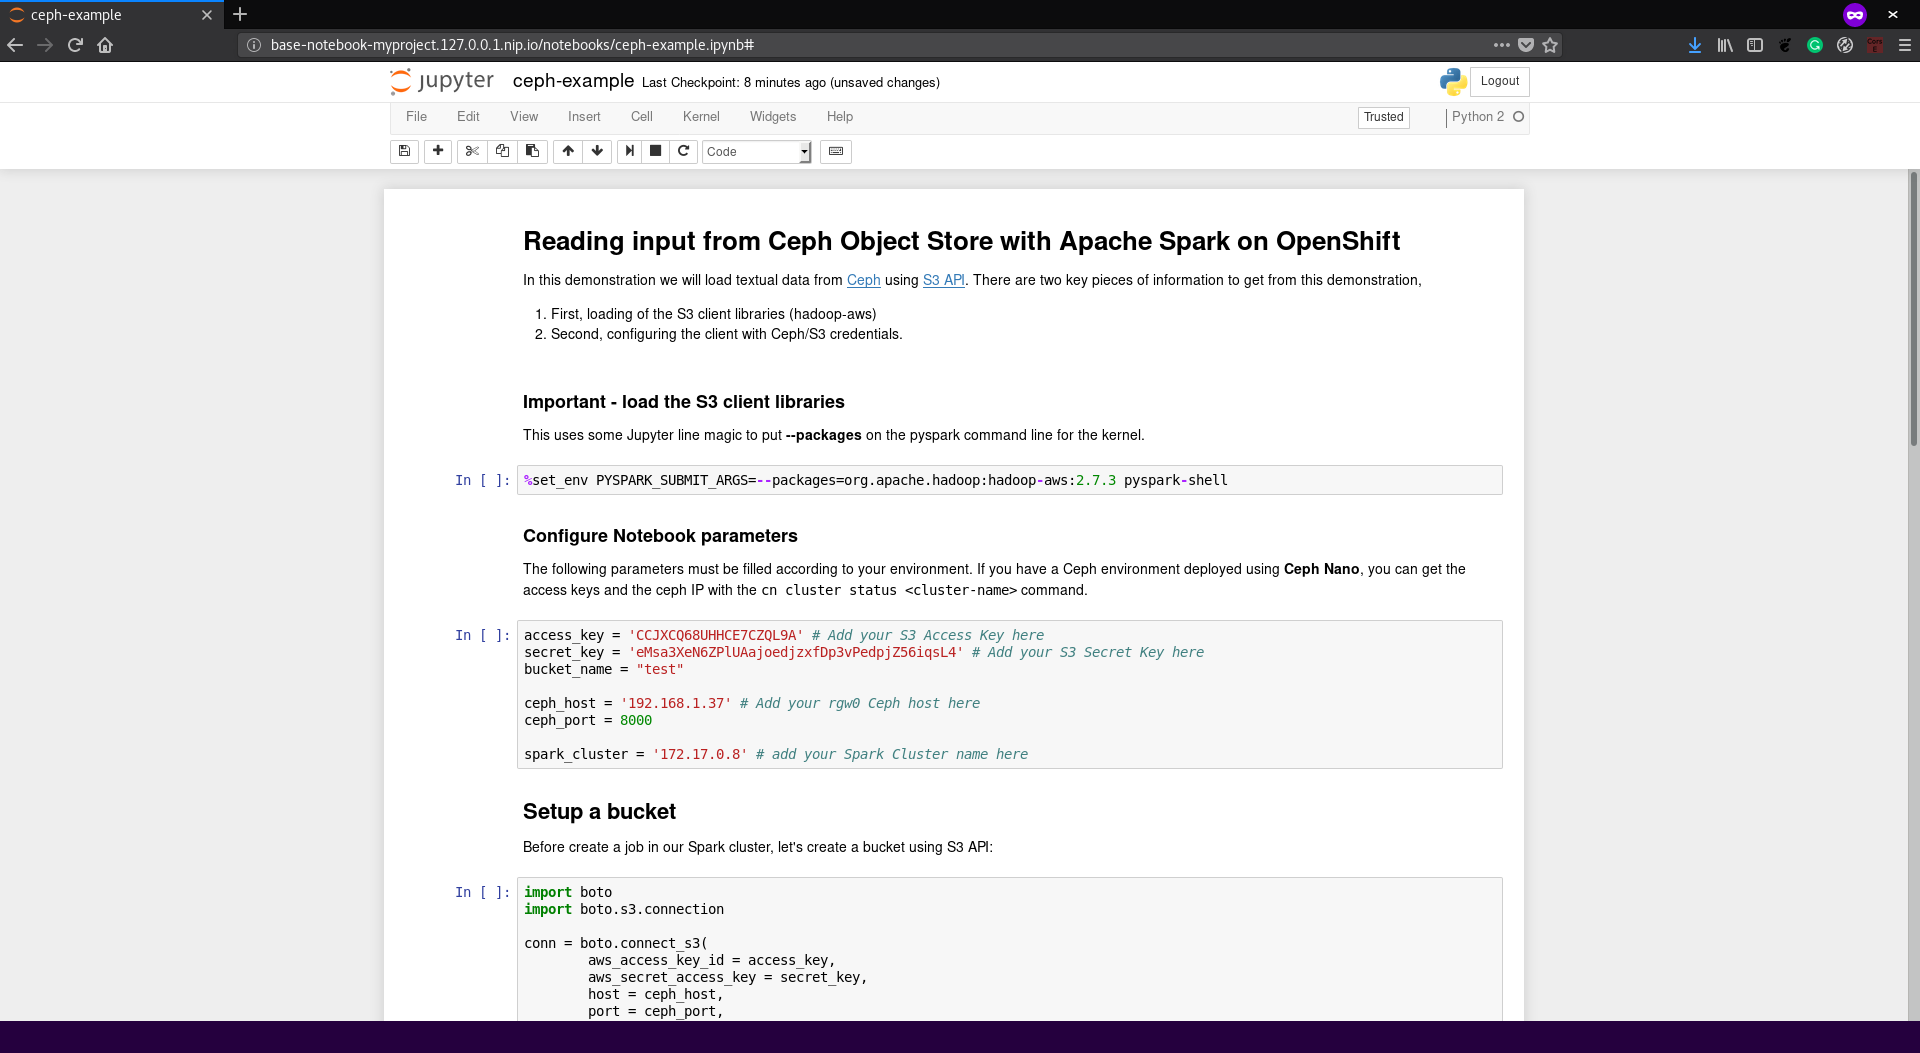
This is an example of the key pieces needed to connect your
application to data in Ceph using S3 API. It is presented as steps in a Jupyter
notebook. To run this example, you need a Ceph environment running in your network
and a running Spark cluster in your OpenShift project.
Optionally, you can run in your own computer using ceph-nano
(check the Prerequisites section if you need to deploy a local instance of Ceph).
Prerequisites
In case you need to configure your own Ceph environment, follow the steps below:
-
Download
ceph-nanoin your computer: -
Create the Ceph cluster:
./cn cluster start ceph-source -d /tmp
-
After
cn cluster startfinish, you will receive the URL to access your newly created Ceph cluster and your S3 credentials. -
Access the Ceph Nano Web Console with address
http://<your-ip-address>:5000. The figure below shows the Web console page: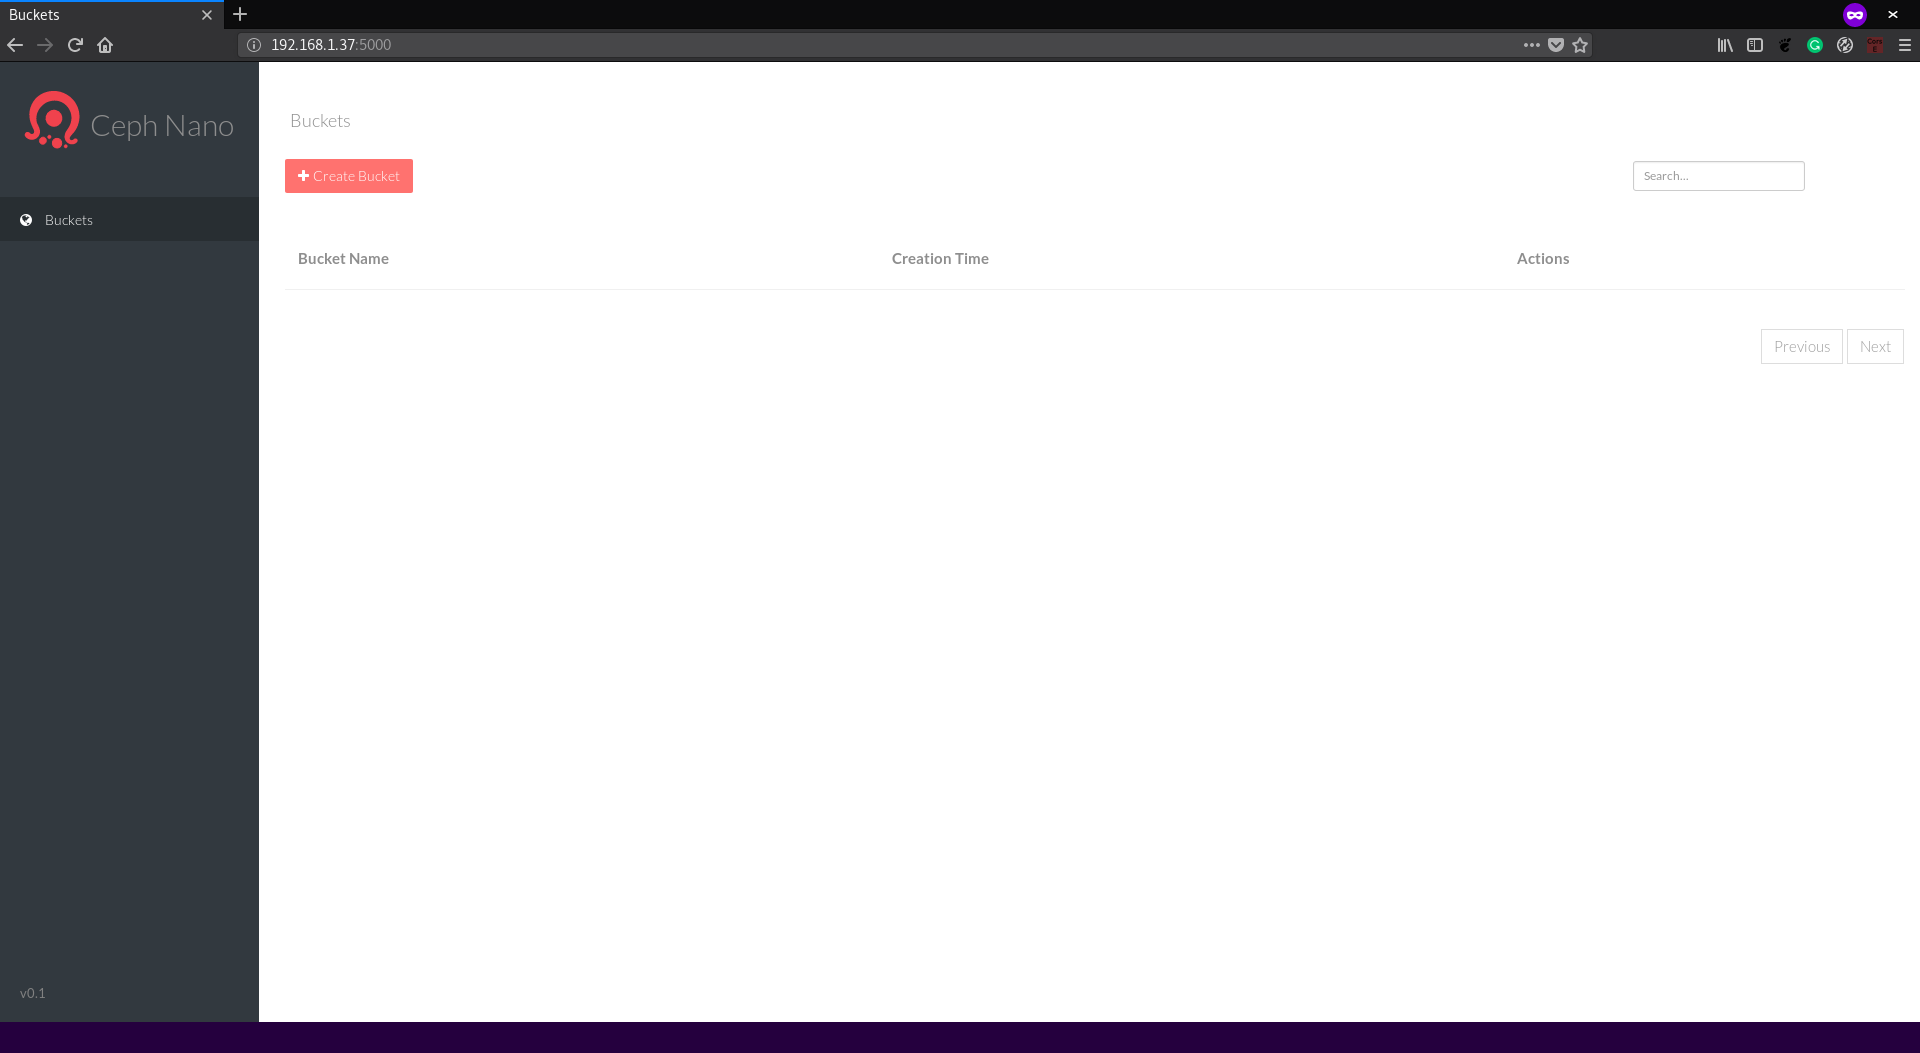
-
We need to create a bucket and add a file so that the Jupyter notebook can access it. Let’s first create a bucket: Click on the
Create Bucketbutton and typeceph-sourcein theBucket Namefield: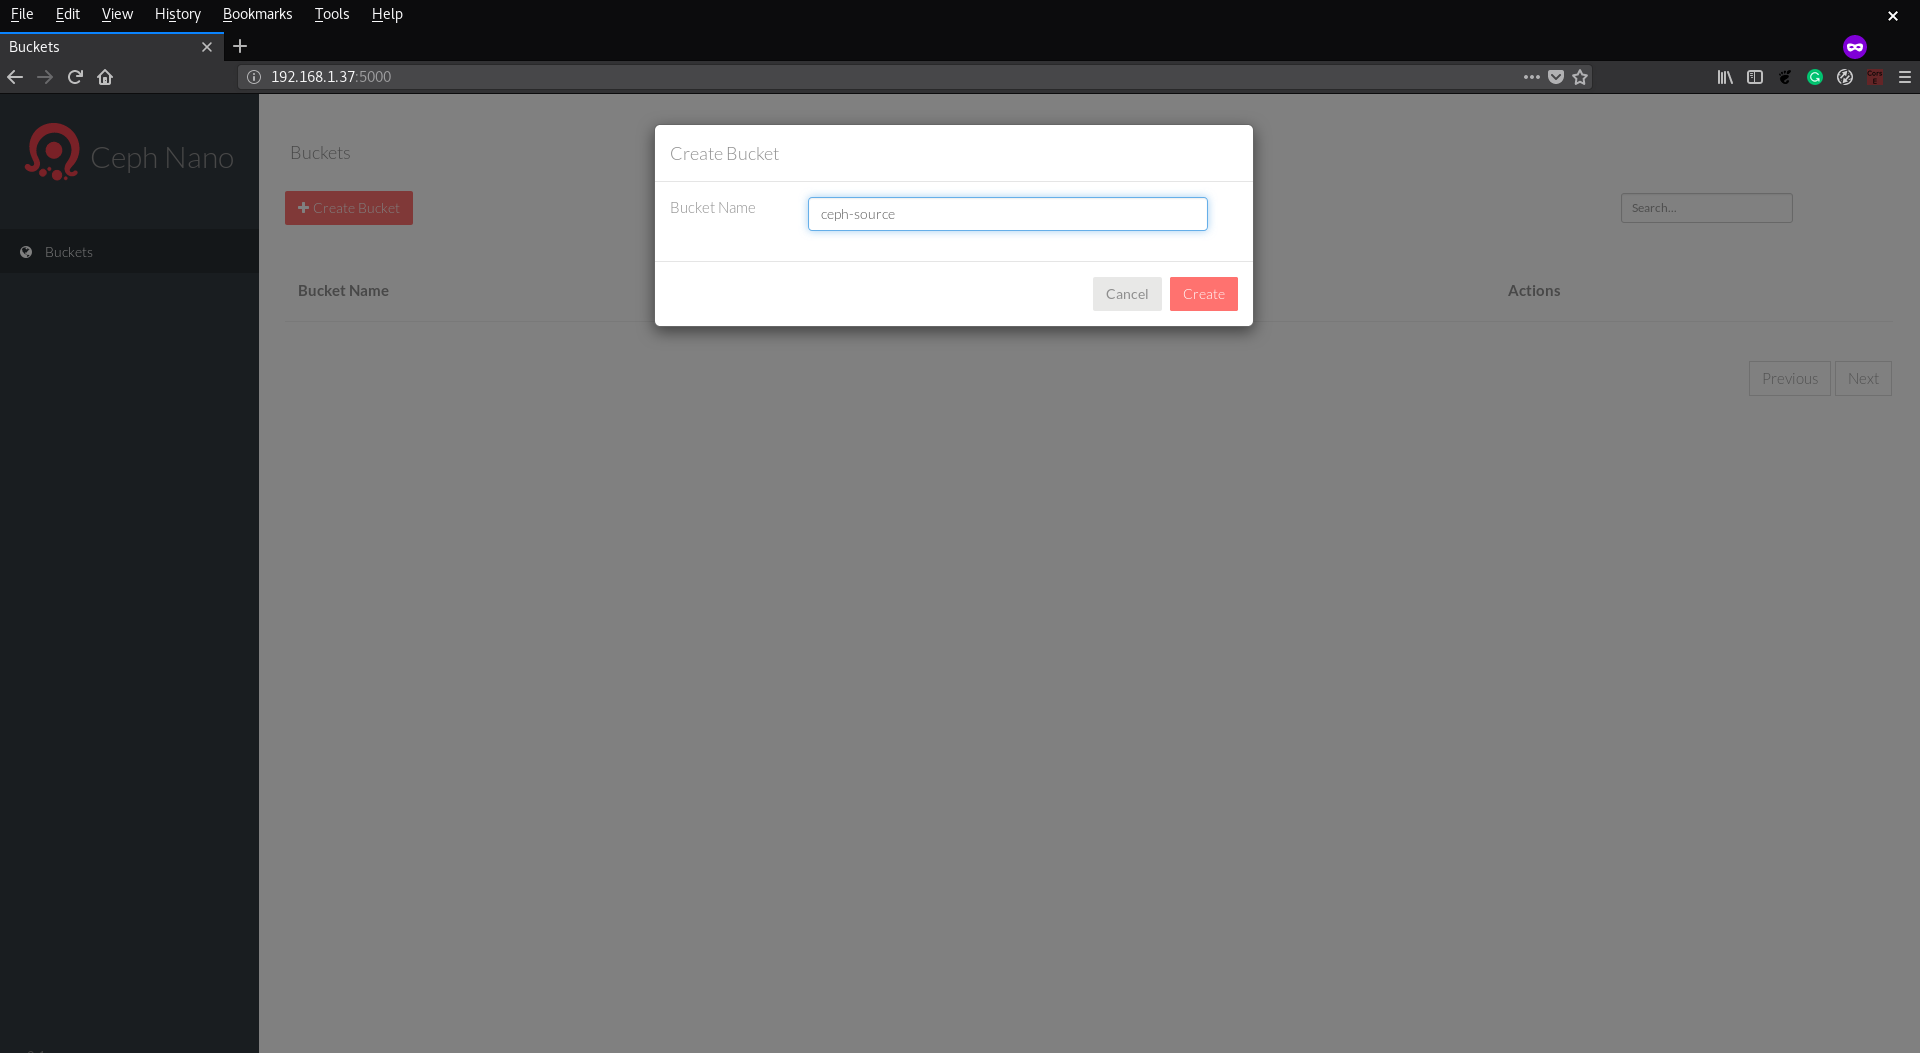
-
Now we have a bucket, and we need to upload a file. Click on the
ceph-sourcewe just created. The page below is shown: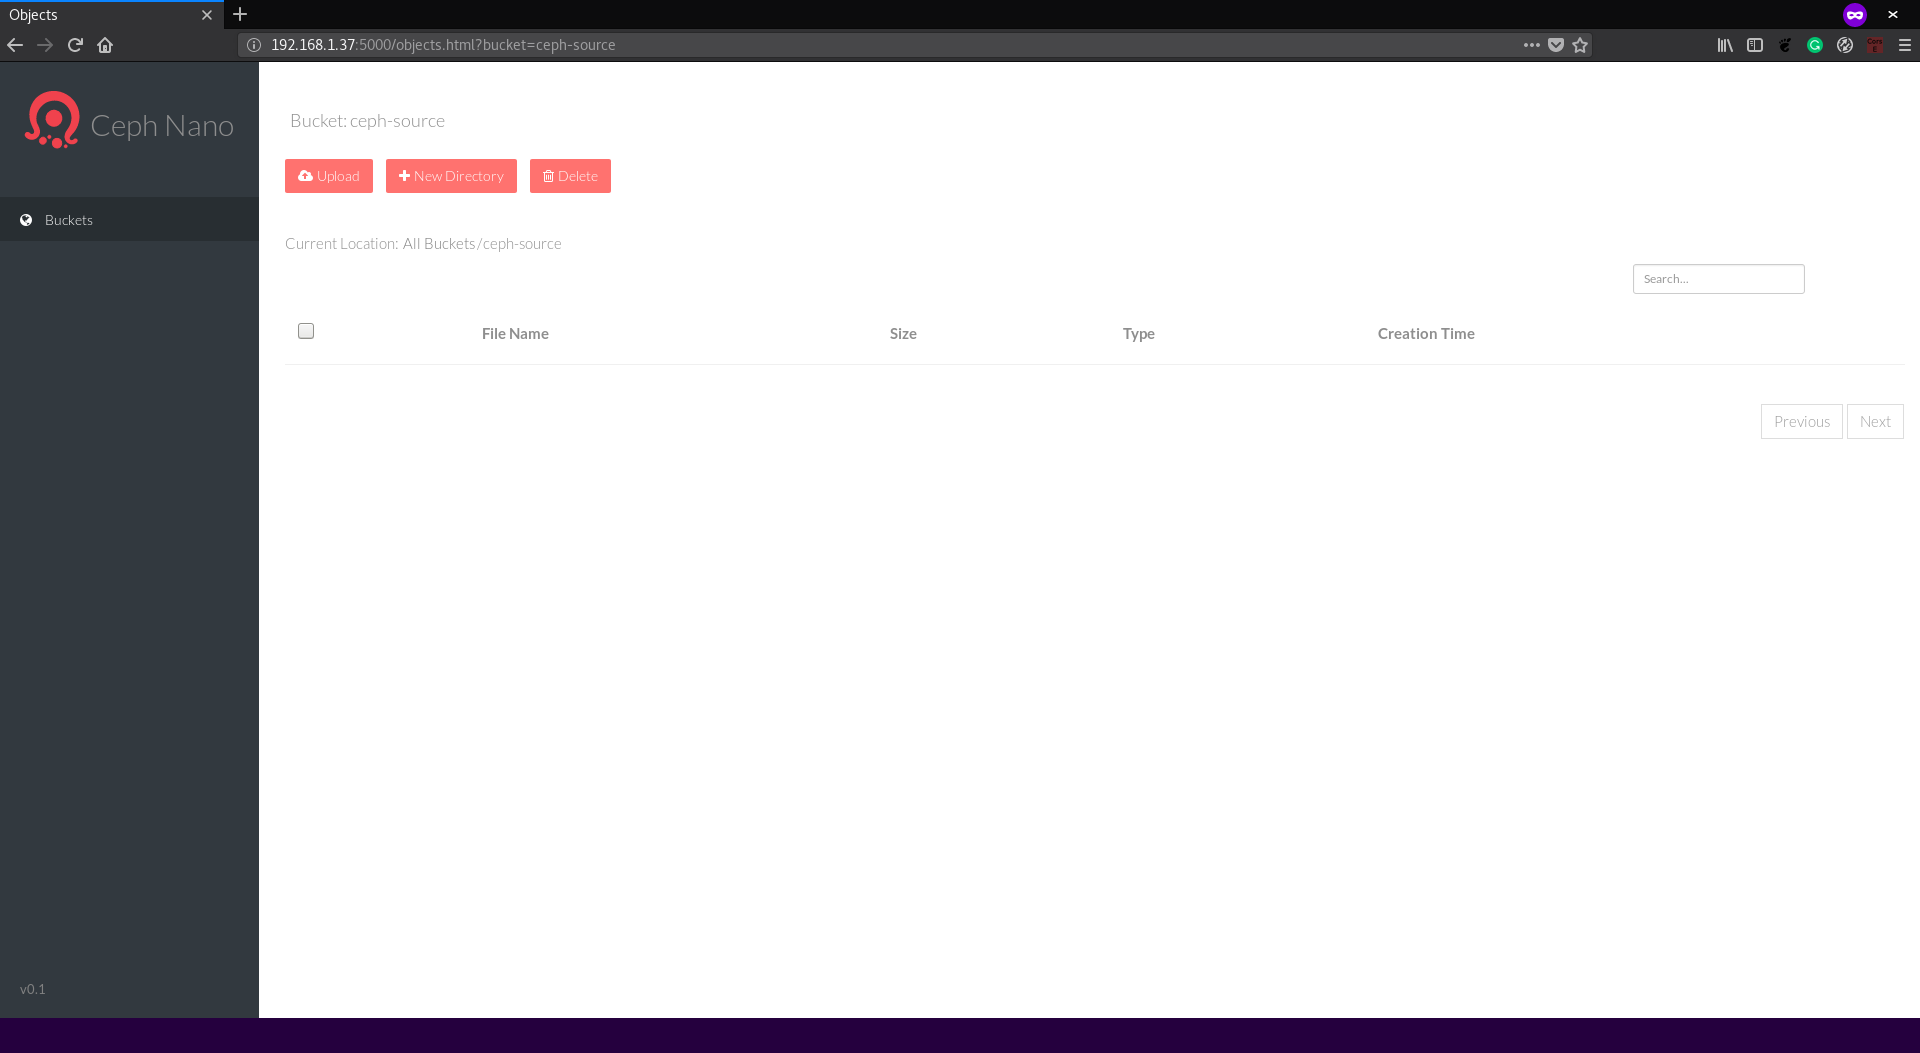
-
Click on
Uploadbutton and select the README.md file from the Spark distribution. Note: This file is just an example, you can upload whatever text file you want, but expect different results from this tutorial. -
After selecting the file, the
Upload Statusdialog will show the upload progress until theUploadedstatus is presented. Now we can continue with preparing the environment to access from the Jupyter notebook.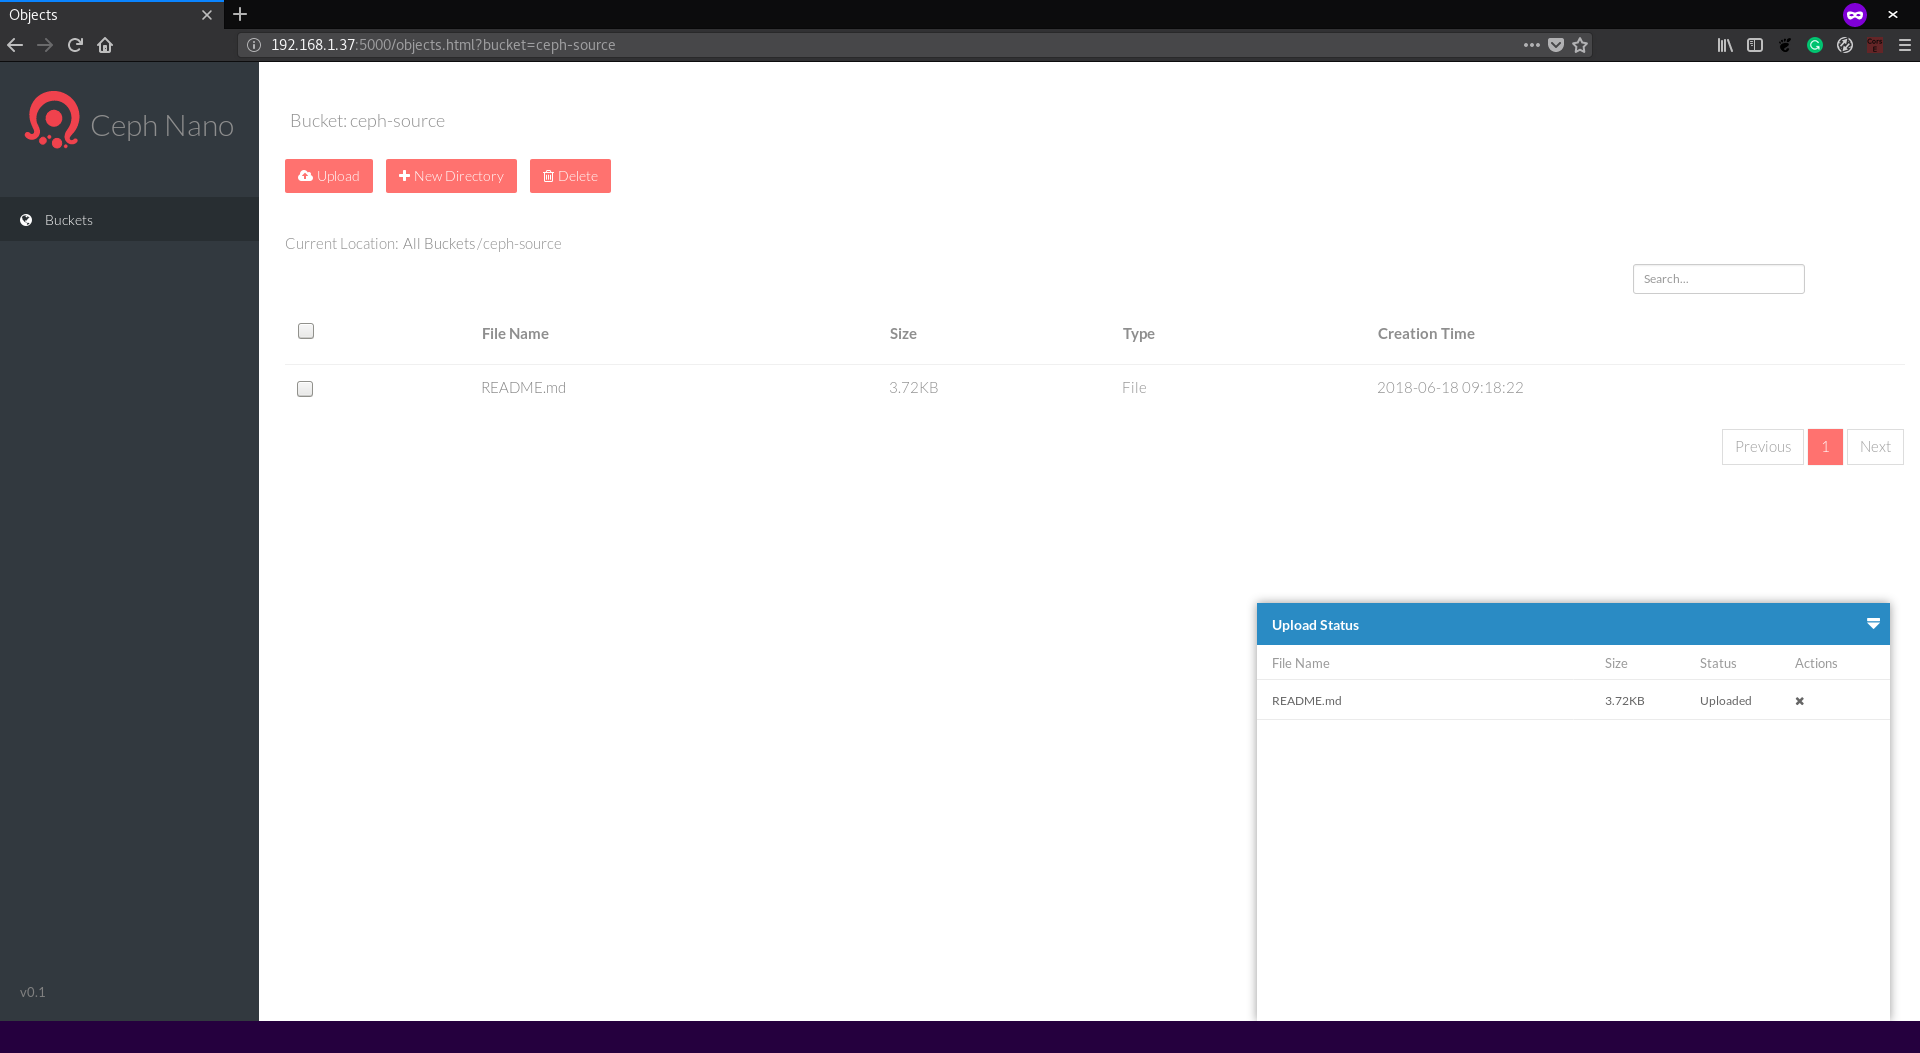
If you want to stop the ceph-nano cluster, type the following command:
./cn cluster stop ceph-source
Architecture
No architecture, this is a connectivity example.
Installation
-
Start a Jupyter notebook with the commands:
oc new-app rimolive/base-notebook \
  -e JUPYTER_NOTEBOOK_PASSWORD=supersecret \
  -e JUPYTER_NOTEBOOK_X_INCLUDE=https://radanalytics.io/assets/ceph-source-example/ceph-source-example.ipynb
oc expose svc/base-notebook
-
Open the Jupyter URL created by OpenShift and type the password you set in the previous command.
-
Look for the notebook named
ceph-source-example.ipynb, open it and follow the instructions. Make sure in the line where the notebook connects to the spark cluster you changed with the cluster name you used in step 1 and in the line where you set up the Ceph connection you change with the IP where you Ceph instance is running.
Usage
No specific usage.
Expansion
No specific expansion.
Videos
No video, follow the notebook steps.