oc new-app radanalyticsio/base-notebook \
   -e JUPYTER_NOTEBOOK_PASSWORD=supersecret \
   -e JUPYTER_NOTEBOOK_X_INCLUDE=https://radanalytics.io/assets/pyspark_hdfs_notebook/PySpark_HDFS.ipynb
oc expose svc/base-notebook
Accessing data in HDFS with Apache Spark
Introduction
This application is really a simple "how-to" on reading a file from HDFS into a Spark application. It reads the file and counts the number of occurrences of each word in the file (splitting the words on spaces). Output is limited to 20 lines in case the file is large.
Architecture
The driver for the application is a Jupyter notebook. It will connect to a Spark cluster, read a file from the HDFS filesystem on a remote Hadoop cluster, and schedule jobs on the Spark cluster to count the number of occurrences of words in the file.
Installation
Installing this notebook is straightforward; you simply need to create an OpenShift project, deploy a Spark cluster in that project, and install and run the notebook image.
Prerequisites
Follow the Get Started instructions to create an OpenShift project with the Oshinko web interface running.
Setting up a cluster
From the OpenShift developer console, visit the Oshinko web interface. Use the interface to create a new cluster, and take note of what you’ve called this cluster.
A Hadoop cluster for input
If you don’t happen to have a Hadoop cluster set up, you can follow these instructions to set up a single-node Hadoop cluster to use for input.
Permissions for the Hadoop input
This notebook will run as the user nbuser (UID 1011 in the root group). Note that this user must have read access to the HDFS file path that is selected for reading. Permissions can be set on the HDFS fileystem from the Hadoop cluster.
Check the documentation at Apache Hadoop for more information on administering Hadoop.
Adding the notebook application
The notebook application can be launched from the command line with a few simple commands:
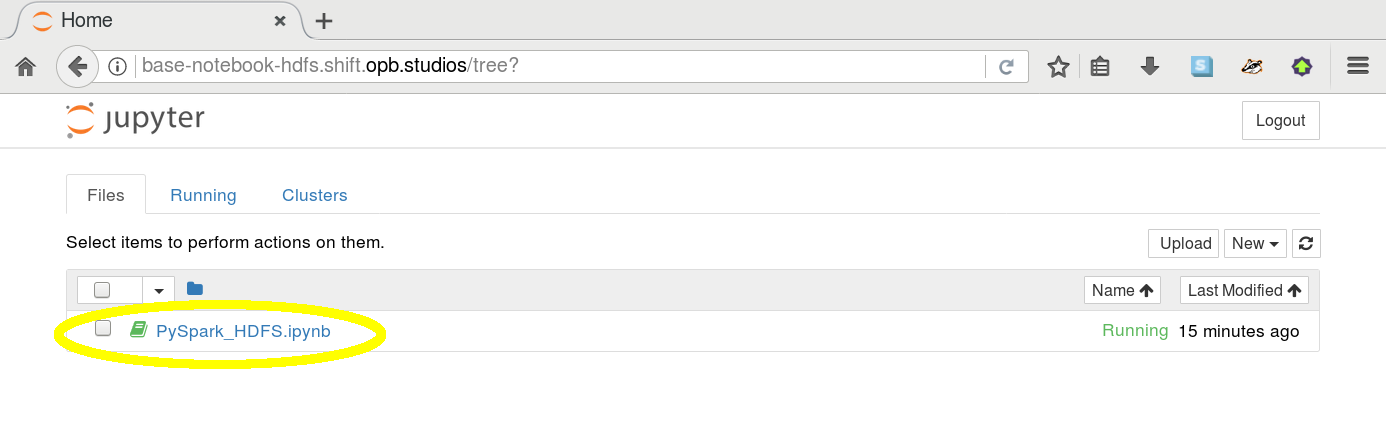
From your OpenShift Console, go to the notebook’s web interface and
login with supersecret.
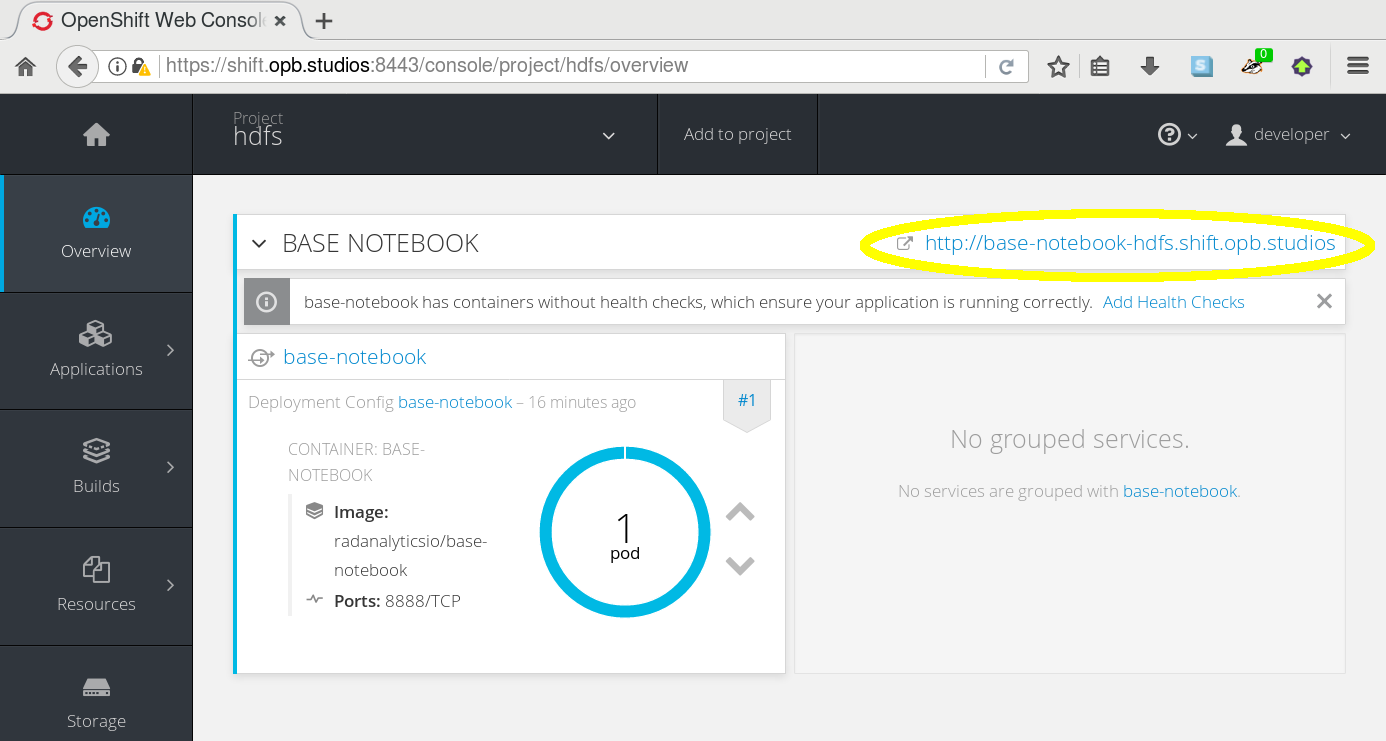
Open the notebook and try out the example code.
Usage
Interacting with the Jupyter notebook is very simple. If you select a cell with Python code you can 1) edit it or 2) execute it by pressing the "run cell" button in the toolbar.
This notebook includes cells with instructions for running the program. Make sure to modify the value of the Spark master URL in the first code block (replacing mycluster with the name of the cluster you created) and set the variables hdfs_hostname, hdfs_port, and hdfs_path according to the instructions.
Expansion
The point of this example is to read from an unsecured HDFS. Interesting expansions would be to write something back to HDFS at another file location and then add examples for reading and writing using a secured HDFS as well.
Videos
There is no video for this application at this time