How do I deploy an Apache Spark cluster with the Oshinko WebUI?
Deploying an Apache Spark cluster through the Oshinko WebUI is a simple process requiring only a few options in most cases.
-
An OpenShift project with the Oshinko WebUI running. See the Get Started instructions for more help.
-
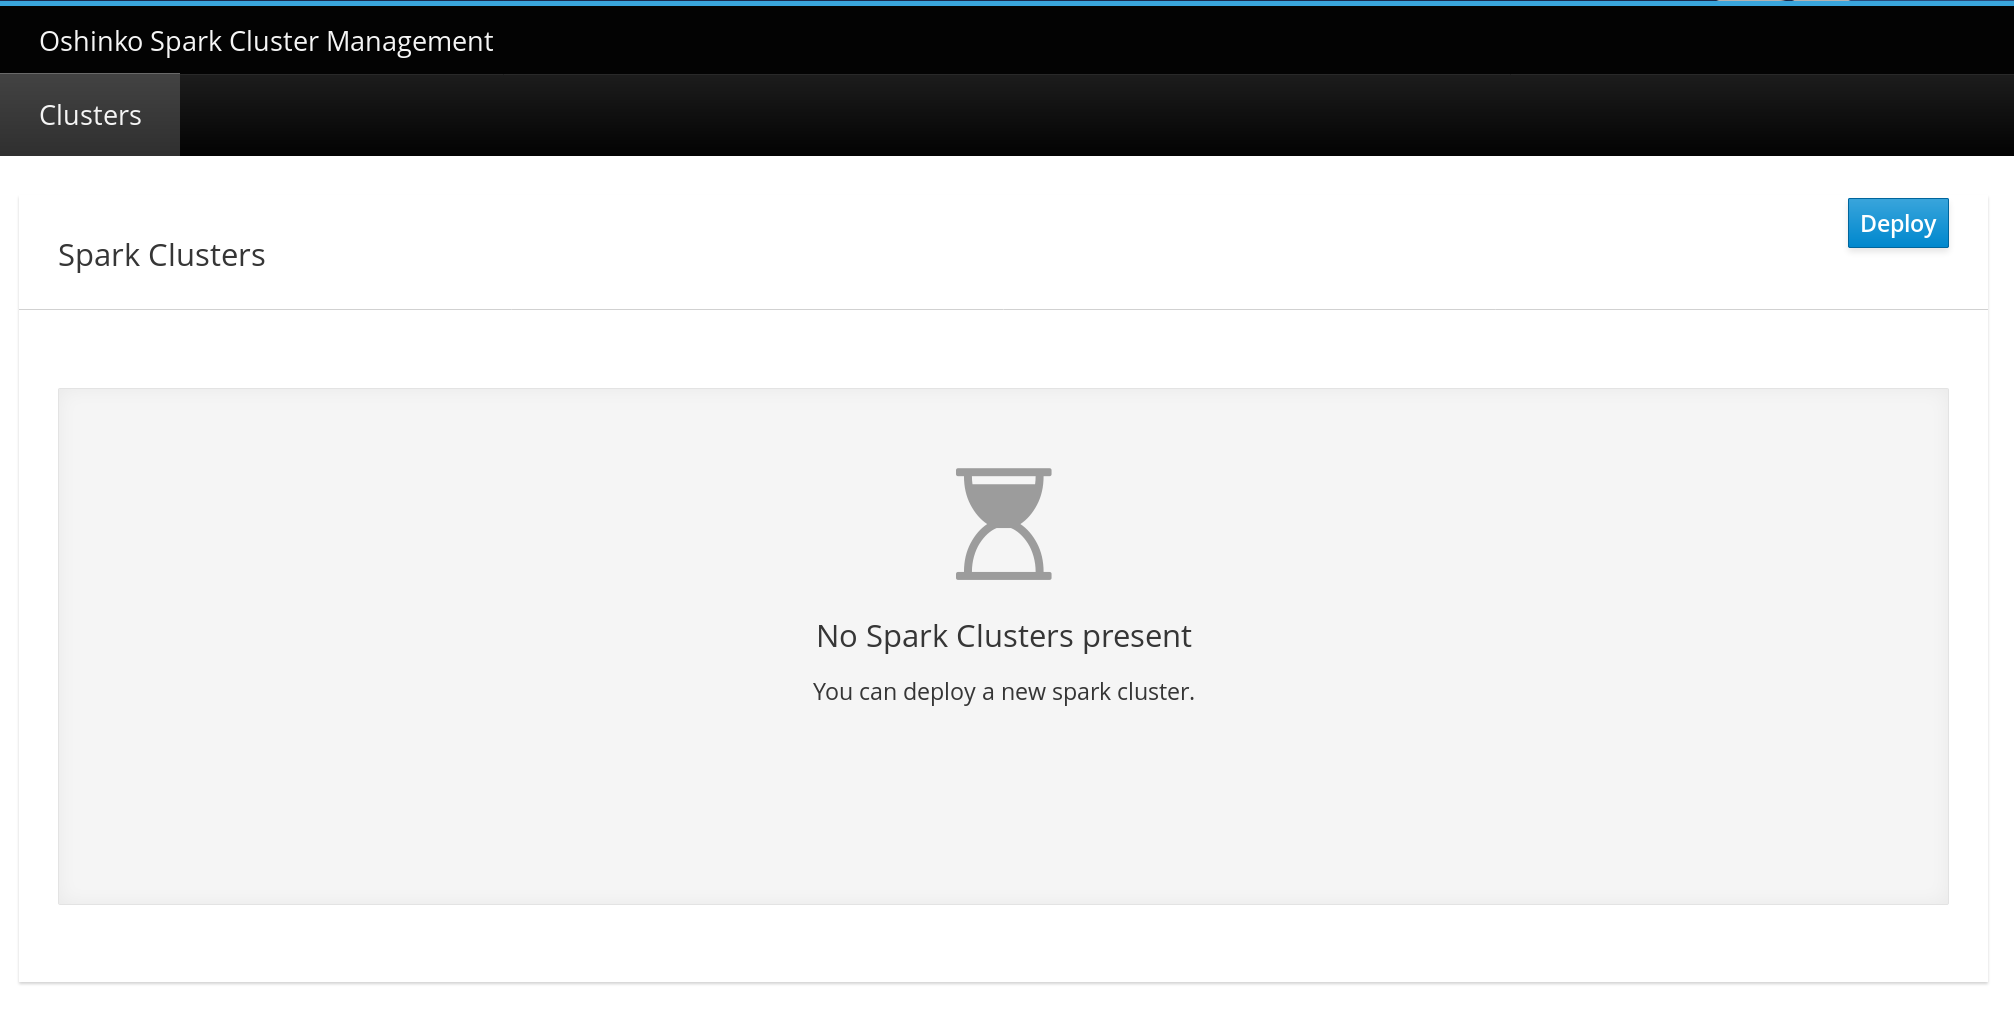
Visit the Oshinko WebUI URL as exposed by OpenShift. You should see a page that looks similar to the following image:
-
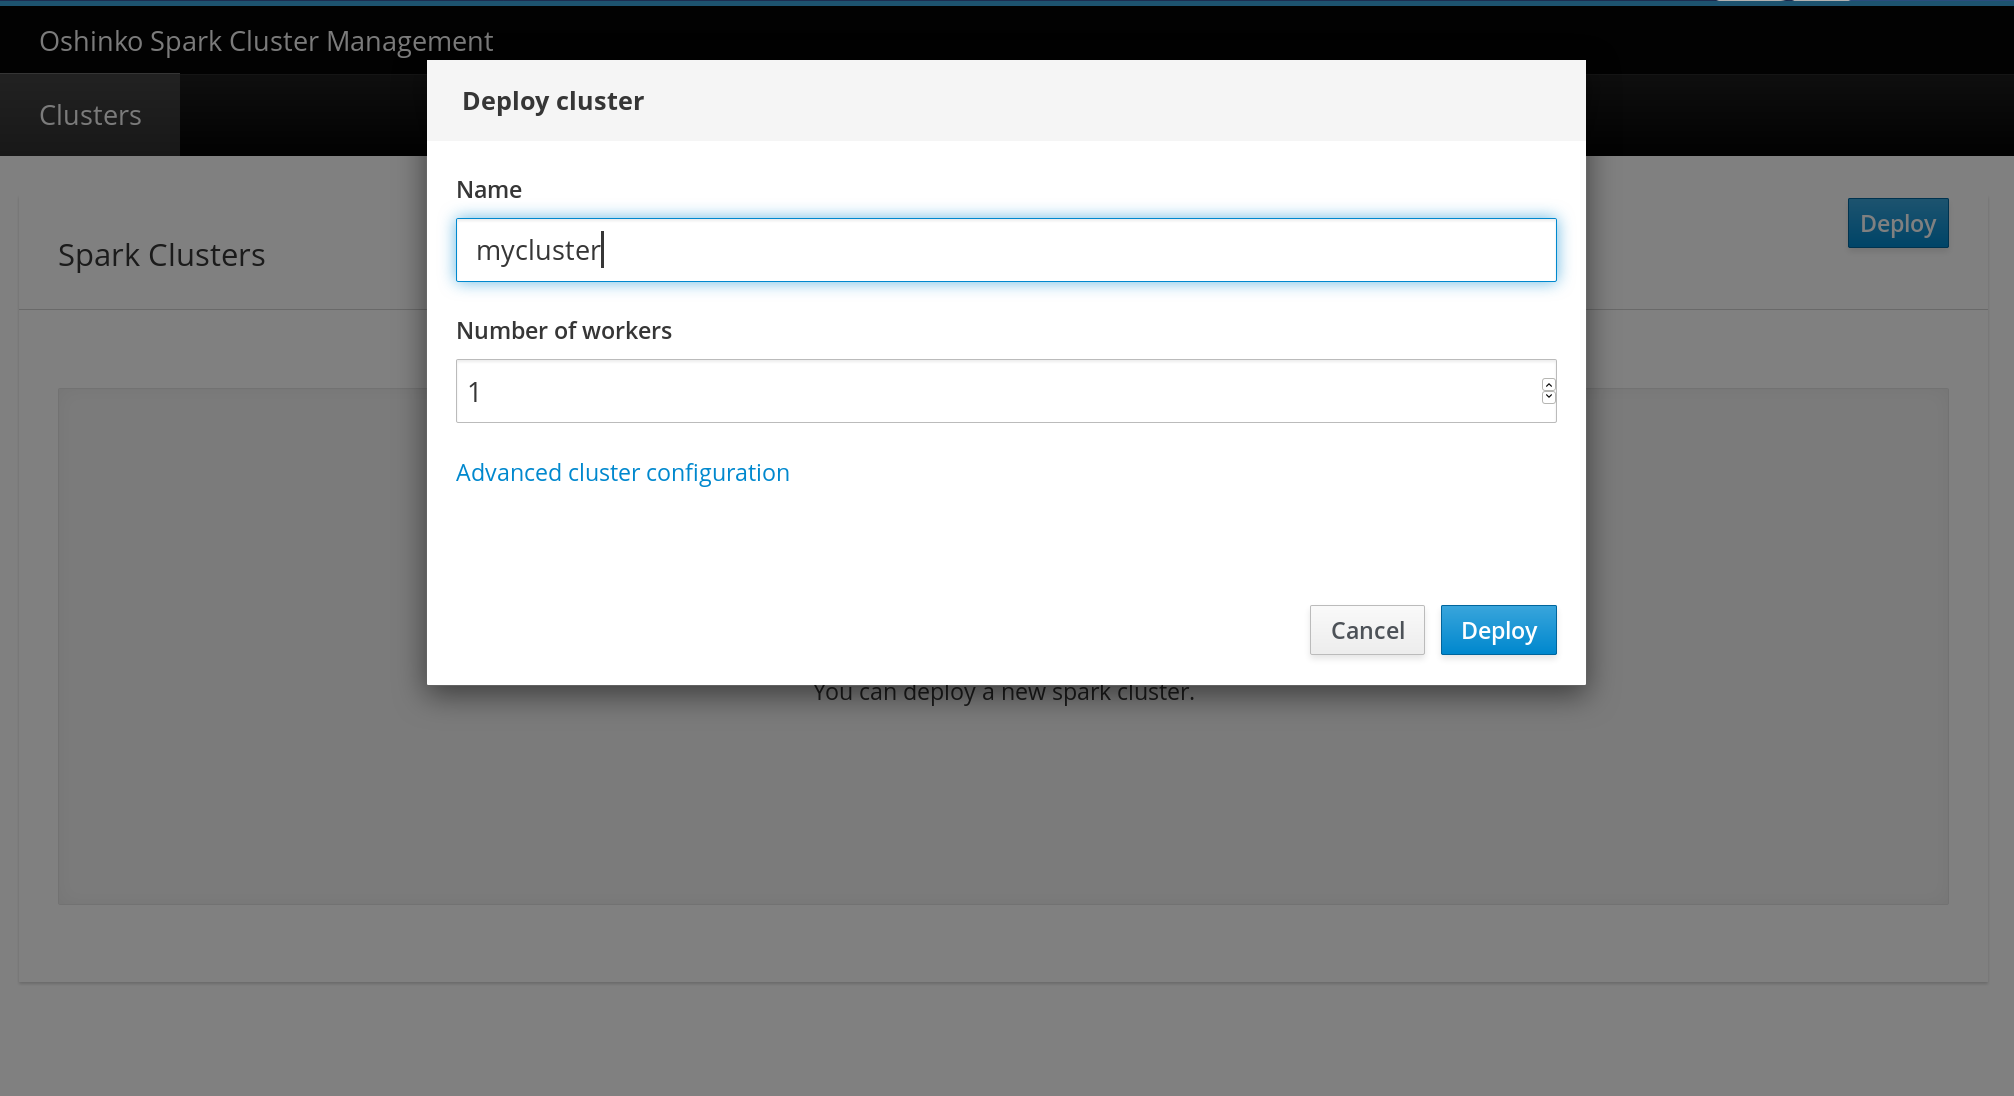
To begin the Spark cluster deployment, click "Deploy" in the upper right of the page. A dialog box similar to the following appears:
-
Enter a name for your cluster and specify the initial number of worker nodes that it will contain. Because the name will be an indentifier to OpenShift, it must not exceed 253 characters, and must consist of only lower case alphanumeric characters,
-(hyphen), and.(period).The number of worker nodes that you choose depends on the type of work you are doing. You can adjust this number after launch without disrupting your driver application, therefore you can begin with a smaller number of worker nodes and add nodes as required.
-
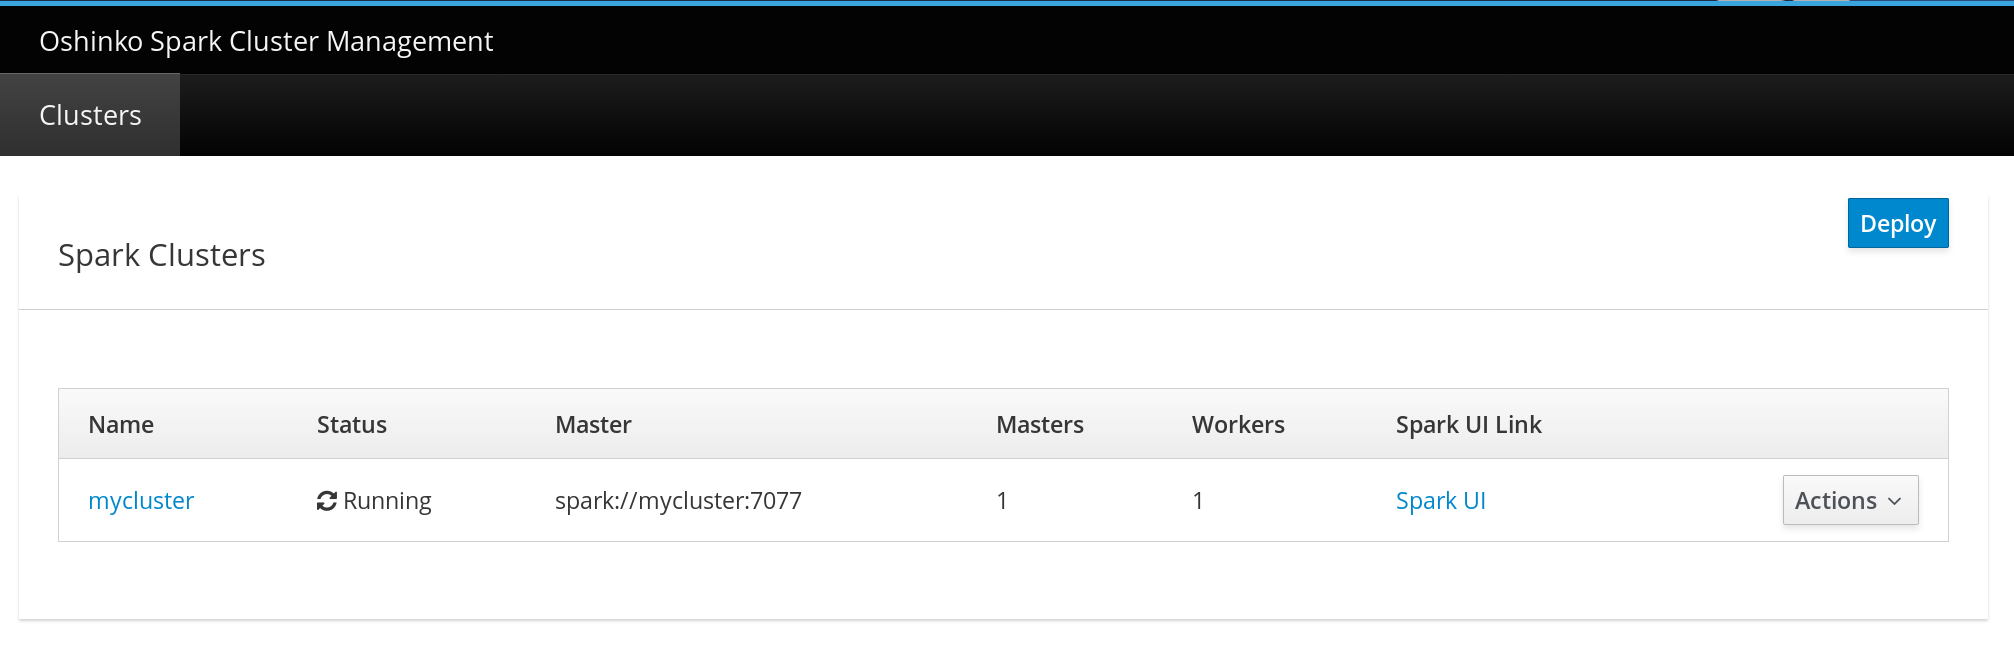
After you have entered a name and specified the number of worker nodes, click "Deploy" in the lower right of the dialog box to start the deployment. Assuming there are no errors, the cluster’s status and details appear on the Oshinko page, similar to the following example: