How do I launch the Oshinko web interface from the OpenShift console?
-
An OpenShift project with radanalytics.io installed.
-
A web browser available.
-
Select the project with radanalytics.io installed from the OpenShift console.
-
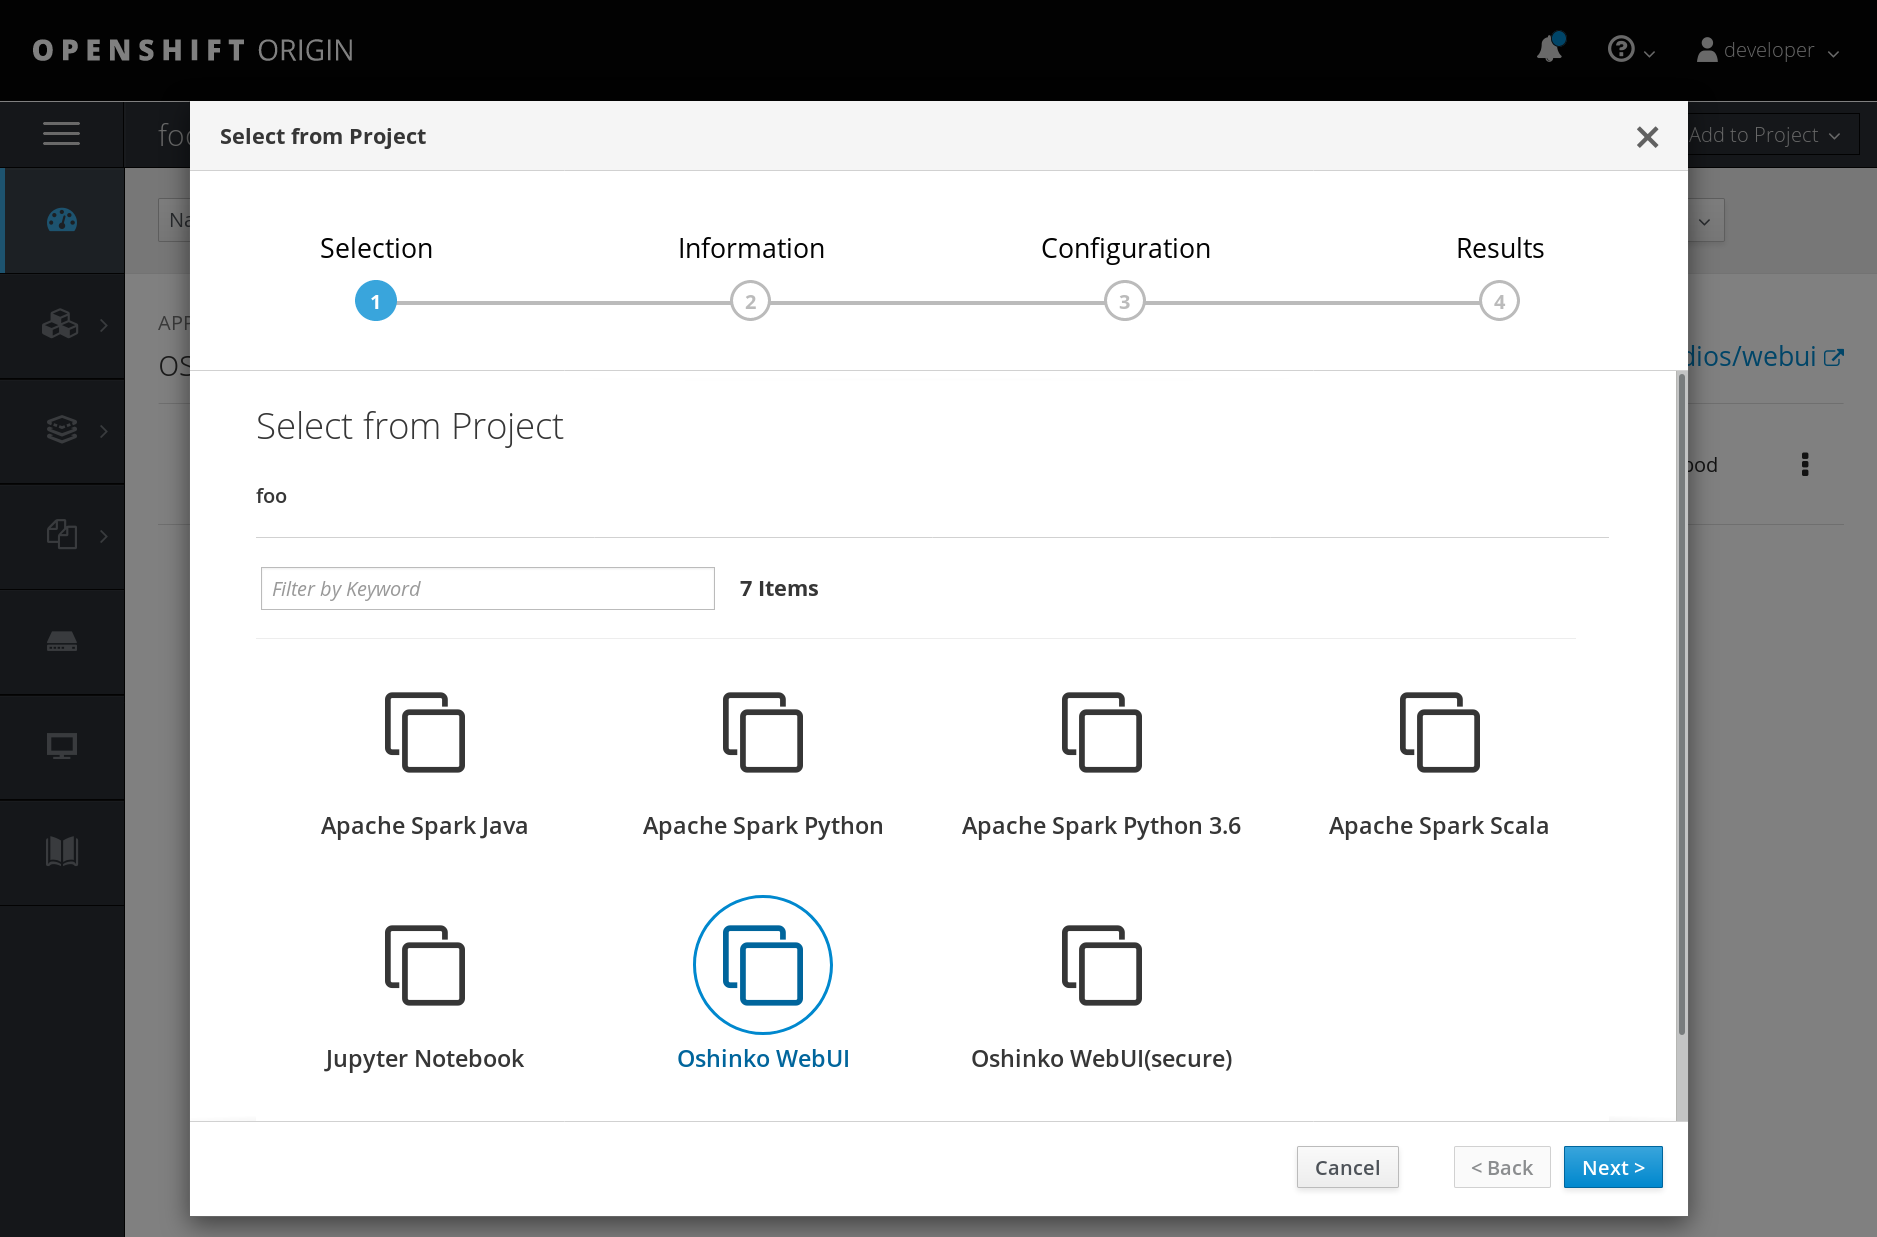
Click the "Add to Project" dropdown in the upper right and then click "Select from Project". You will see a dialog box that looks similar to this:
-
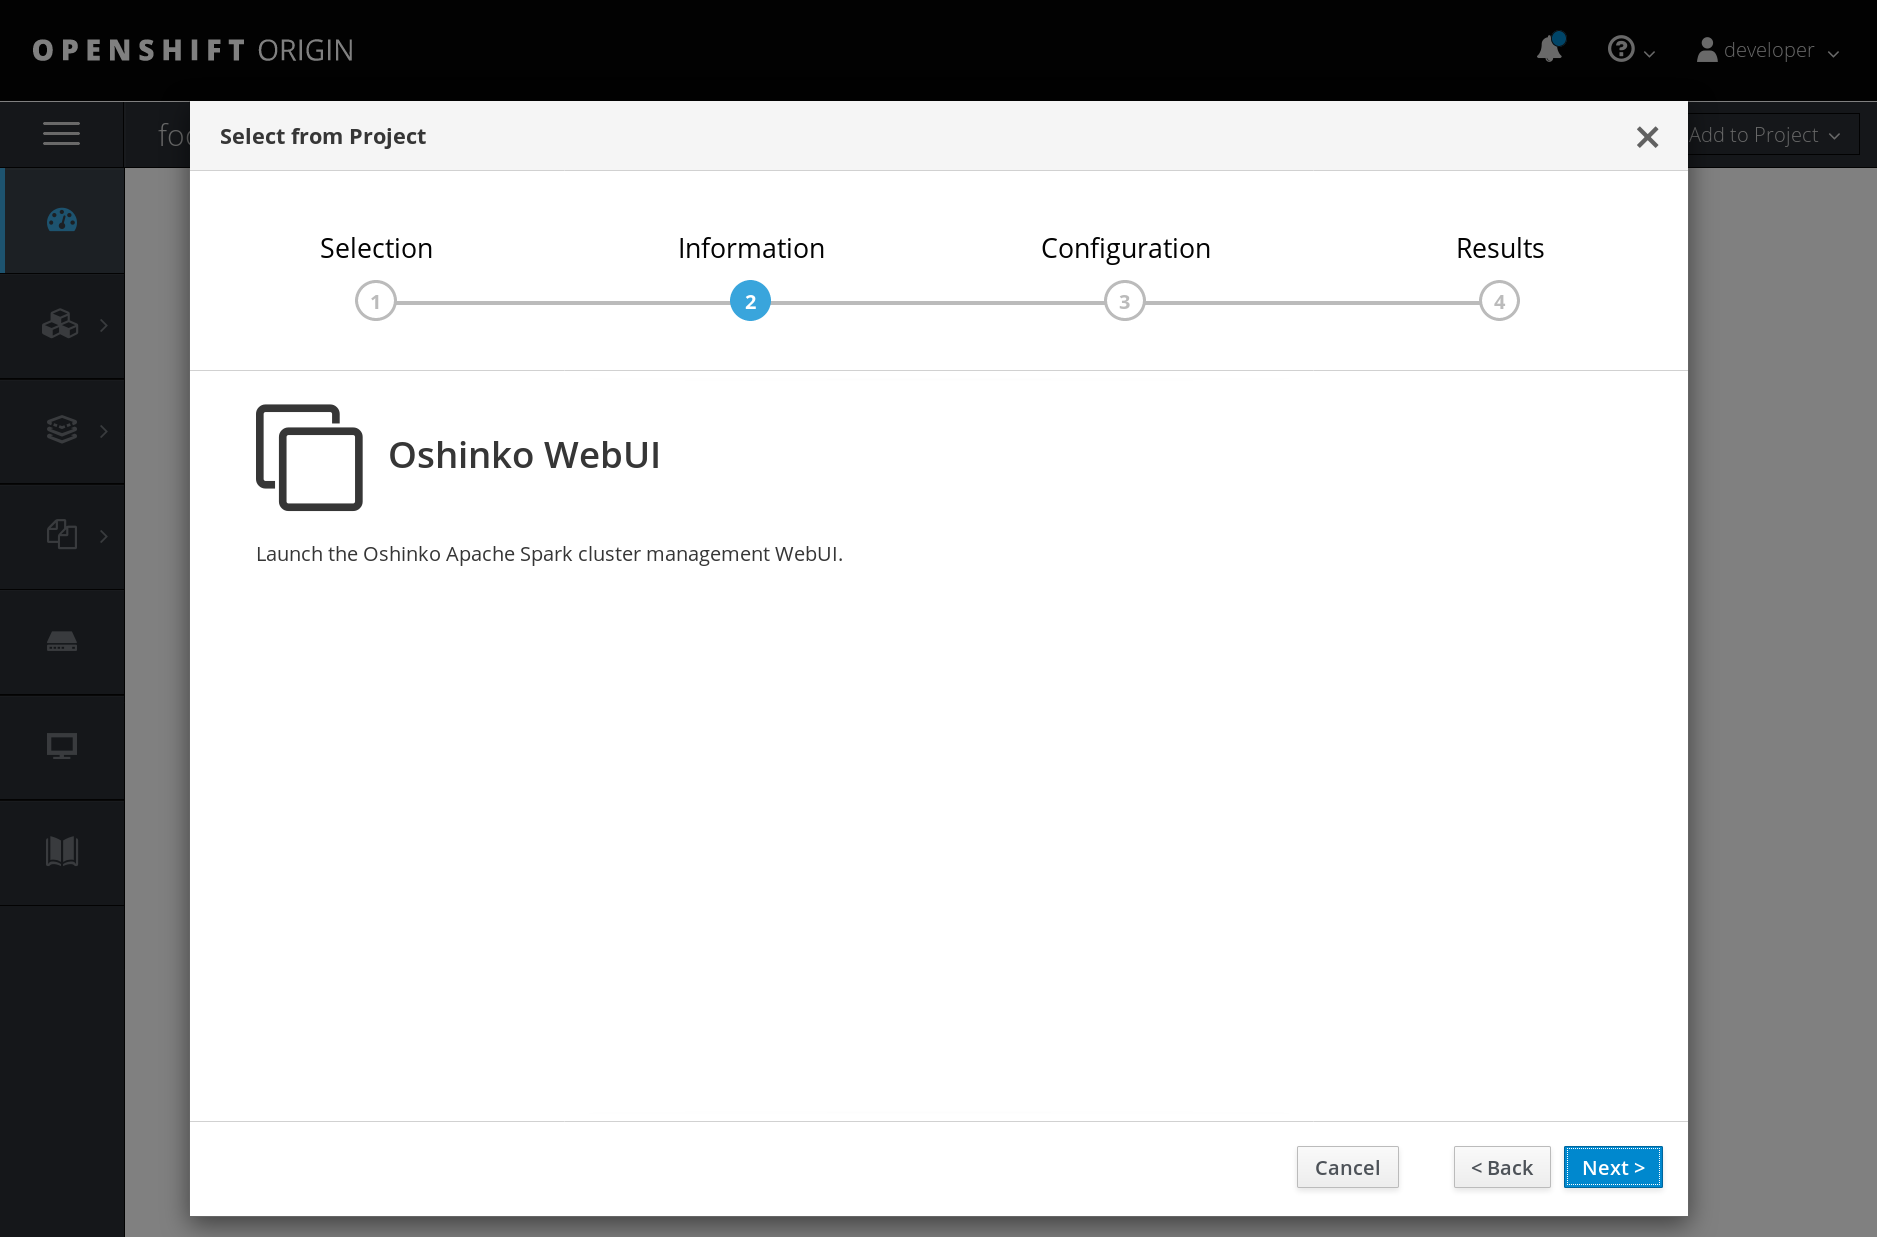
Select the "Oshinko WebUI" item and then click on "Next" in the lower right. If you would perfer to use Oshinko with your OpenShift credentials (recommended for environments with public access) then select "Oshinko WebUI(secure)" instead. After clicking "Next" you will see the Information page which looks similar to this:
-
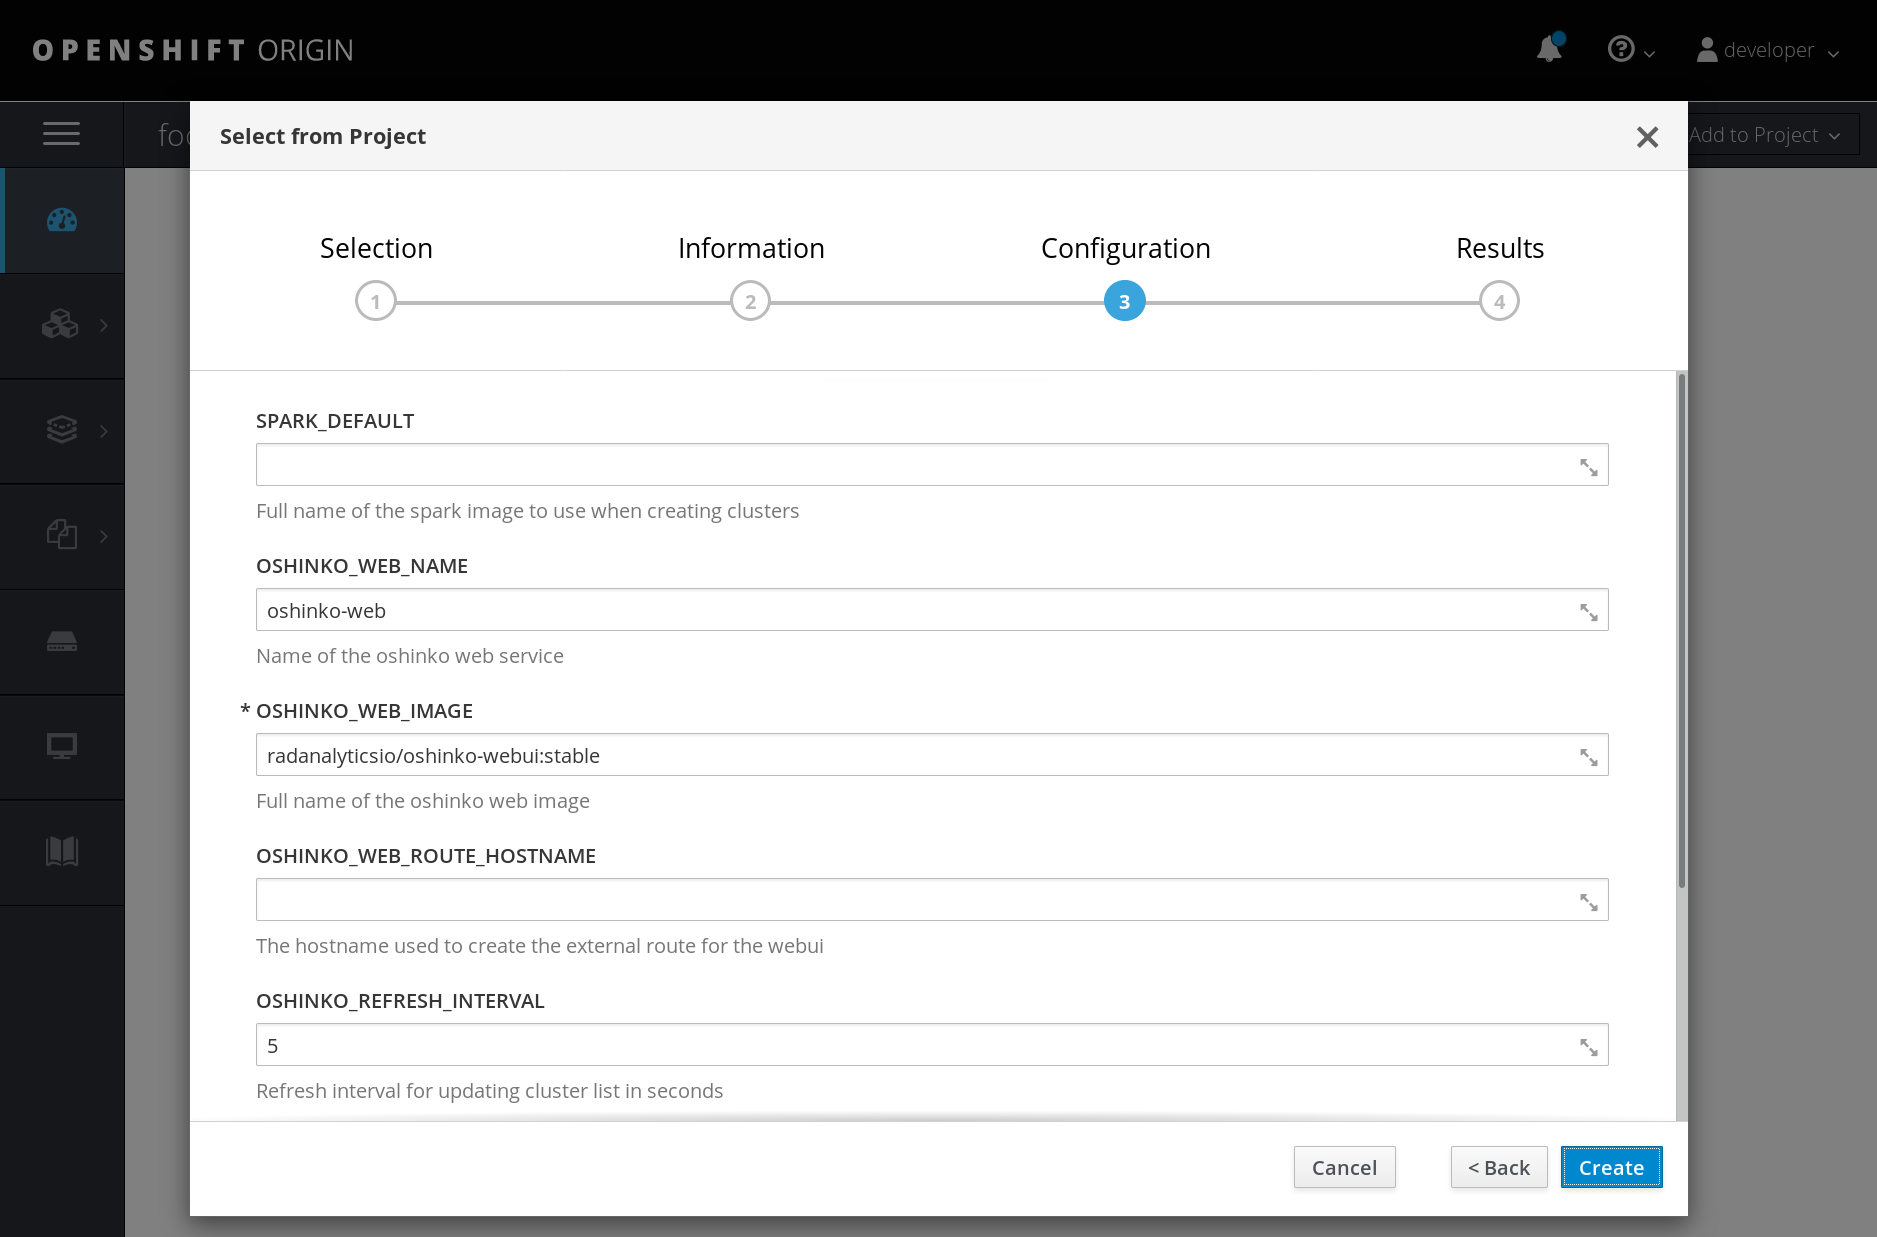
Click "Next" in the lower right. You will now be presented with the Configuration page which will look similar to this:
-
Click "Create" in the lower right. You will now be presented with the Results page which will look similar to this:
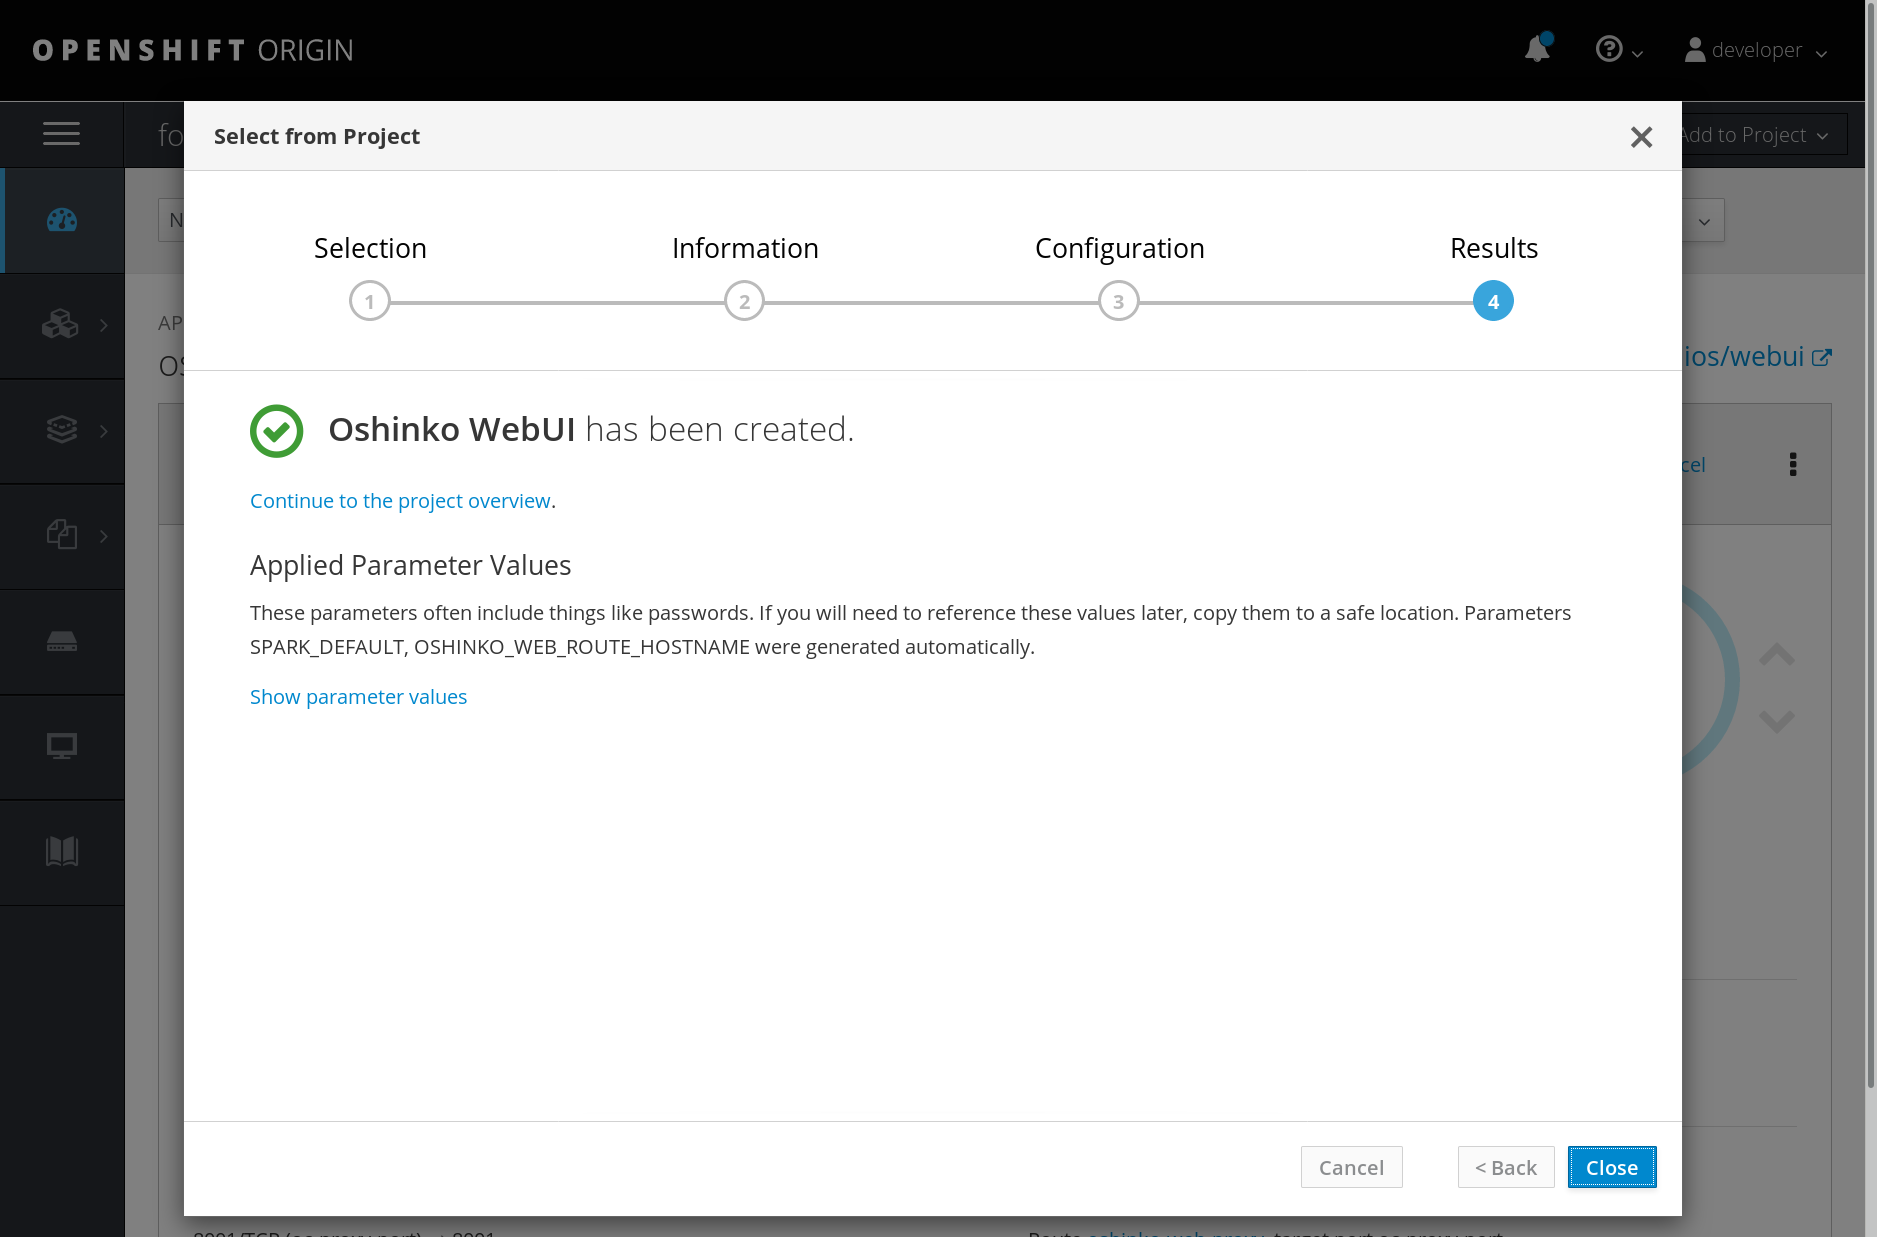
-
Click "Close" in the lower right. You will now be returned to the OpenShift project page.
-
Locate the URL for the exposed route to the Oshinko WebUI and click it. You will be navigated to the Oshinko WebUI which will look similar to this: